
Intel Spatial Awareness Wearable
The Intel Spatial Awareness Wearable is prototype that uses computer vision, artificial intelligence and Internet of Things technologies to bring spatial awareness to people with vision loss. I worked on this project during the first stage with the founding team, creating the initial wearable designs which were tested and show on stage at CES 2015.
Official Media
Director: Meriam Braanaas DOP: Tarek Korkomaz Producers: Andy Mccallum, Kadri Coop Line producer: Thomas Green Editor: Reid Davenport Sound: Jake Emmett
Project Overview
When I started working as a visual designer in Intel’s Perceptual Computing lab, I was approached by a team of co-workers who were working on a spatial awareness prototype called Diaktoros. They asked if I could help out, since I had sewing skills. They had created a wearable device that they were testing that consisted of a wiring harness with a full set of sensors and an Intel RealSense depth camera. They needed an outfit that could house the sensors and camera, that a person could comfortably wear during testing.
Although I had a limited role in this project, I am very proud of the work I did. It was my first UX design project.
The founding team consisted of Robert Cooksey, Sarang Borude, and Shani Jayant.
The project has since expanded and is now known as the Leo belt project.
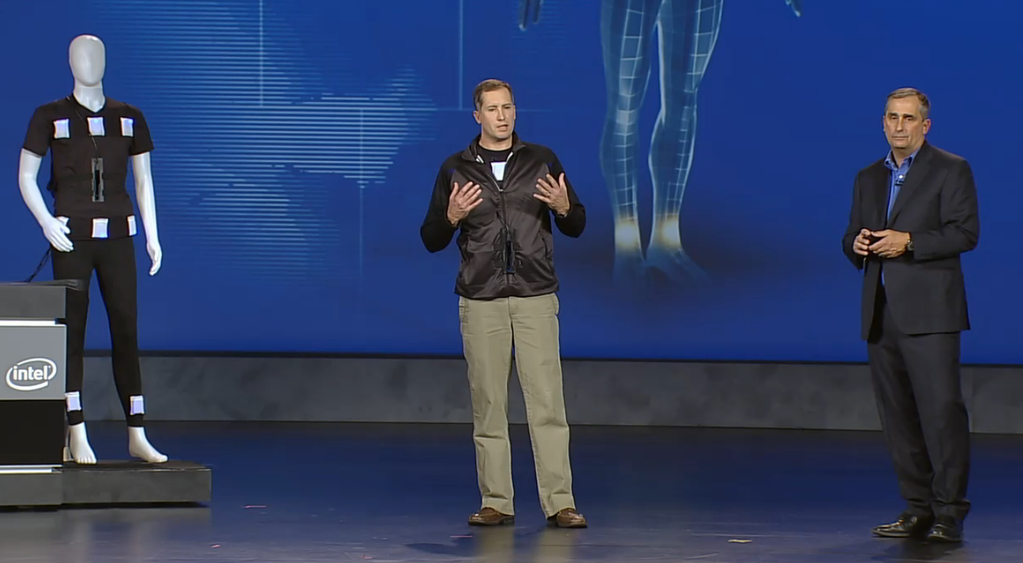
Brian Krzanich & Darryl Adams demo the spatial awareness wearable during the CES 2015 Keynote. Image credit
My Role:
UX designer creating concept art and wearable prototype.
Responsibilities:
Creating illustrations to pitch the project to stakeholders, concept sketches, patternmaking, and soft product prototyping.
Initial Concepts
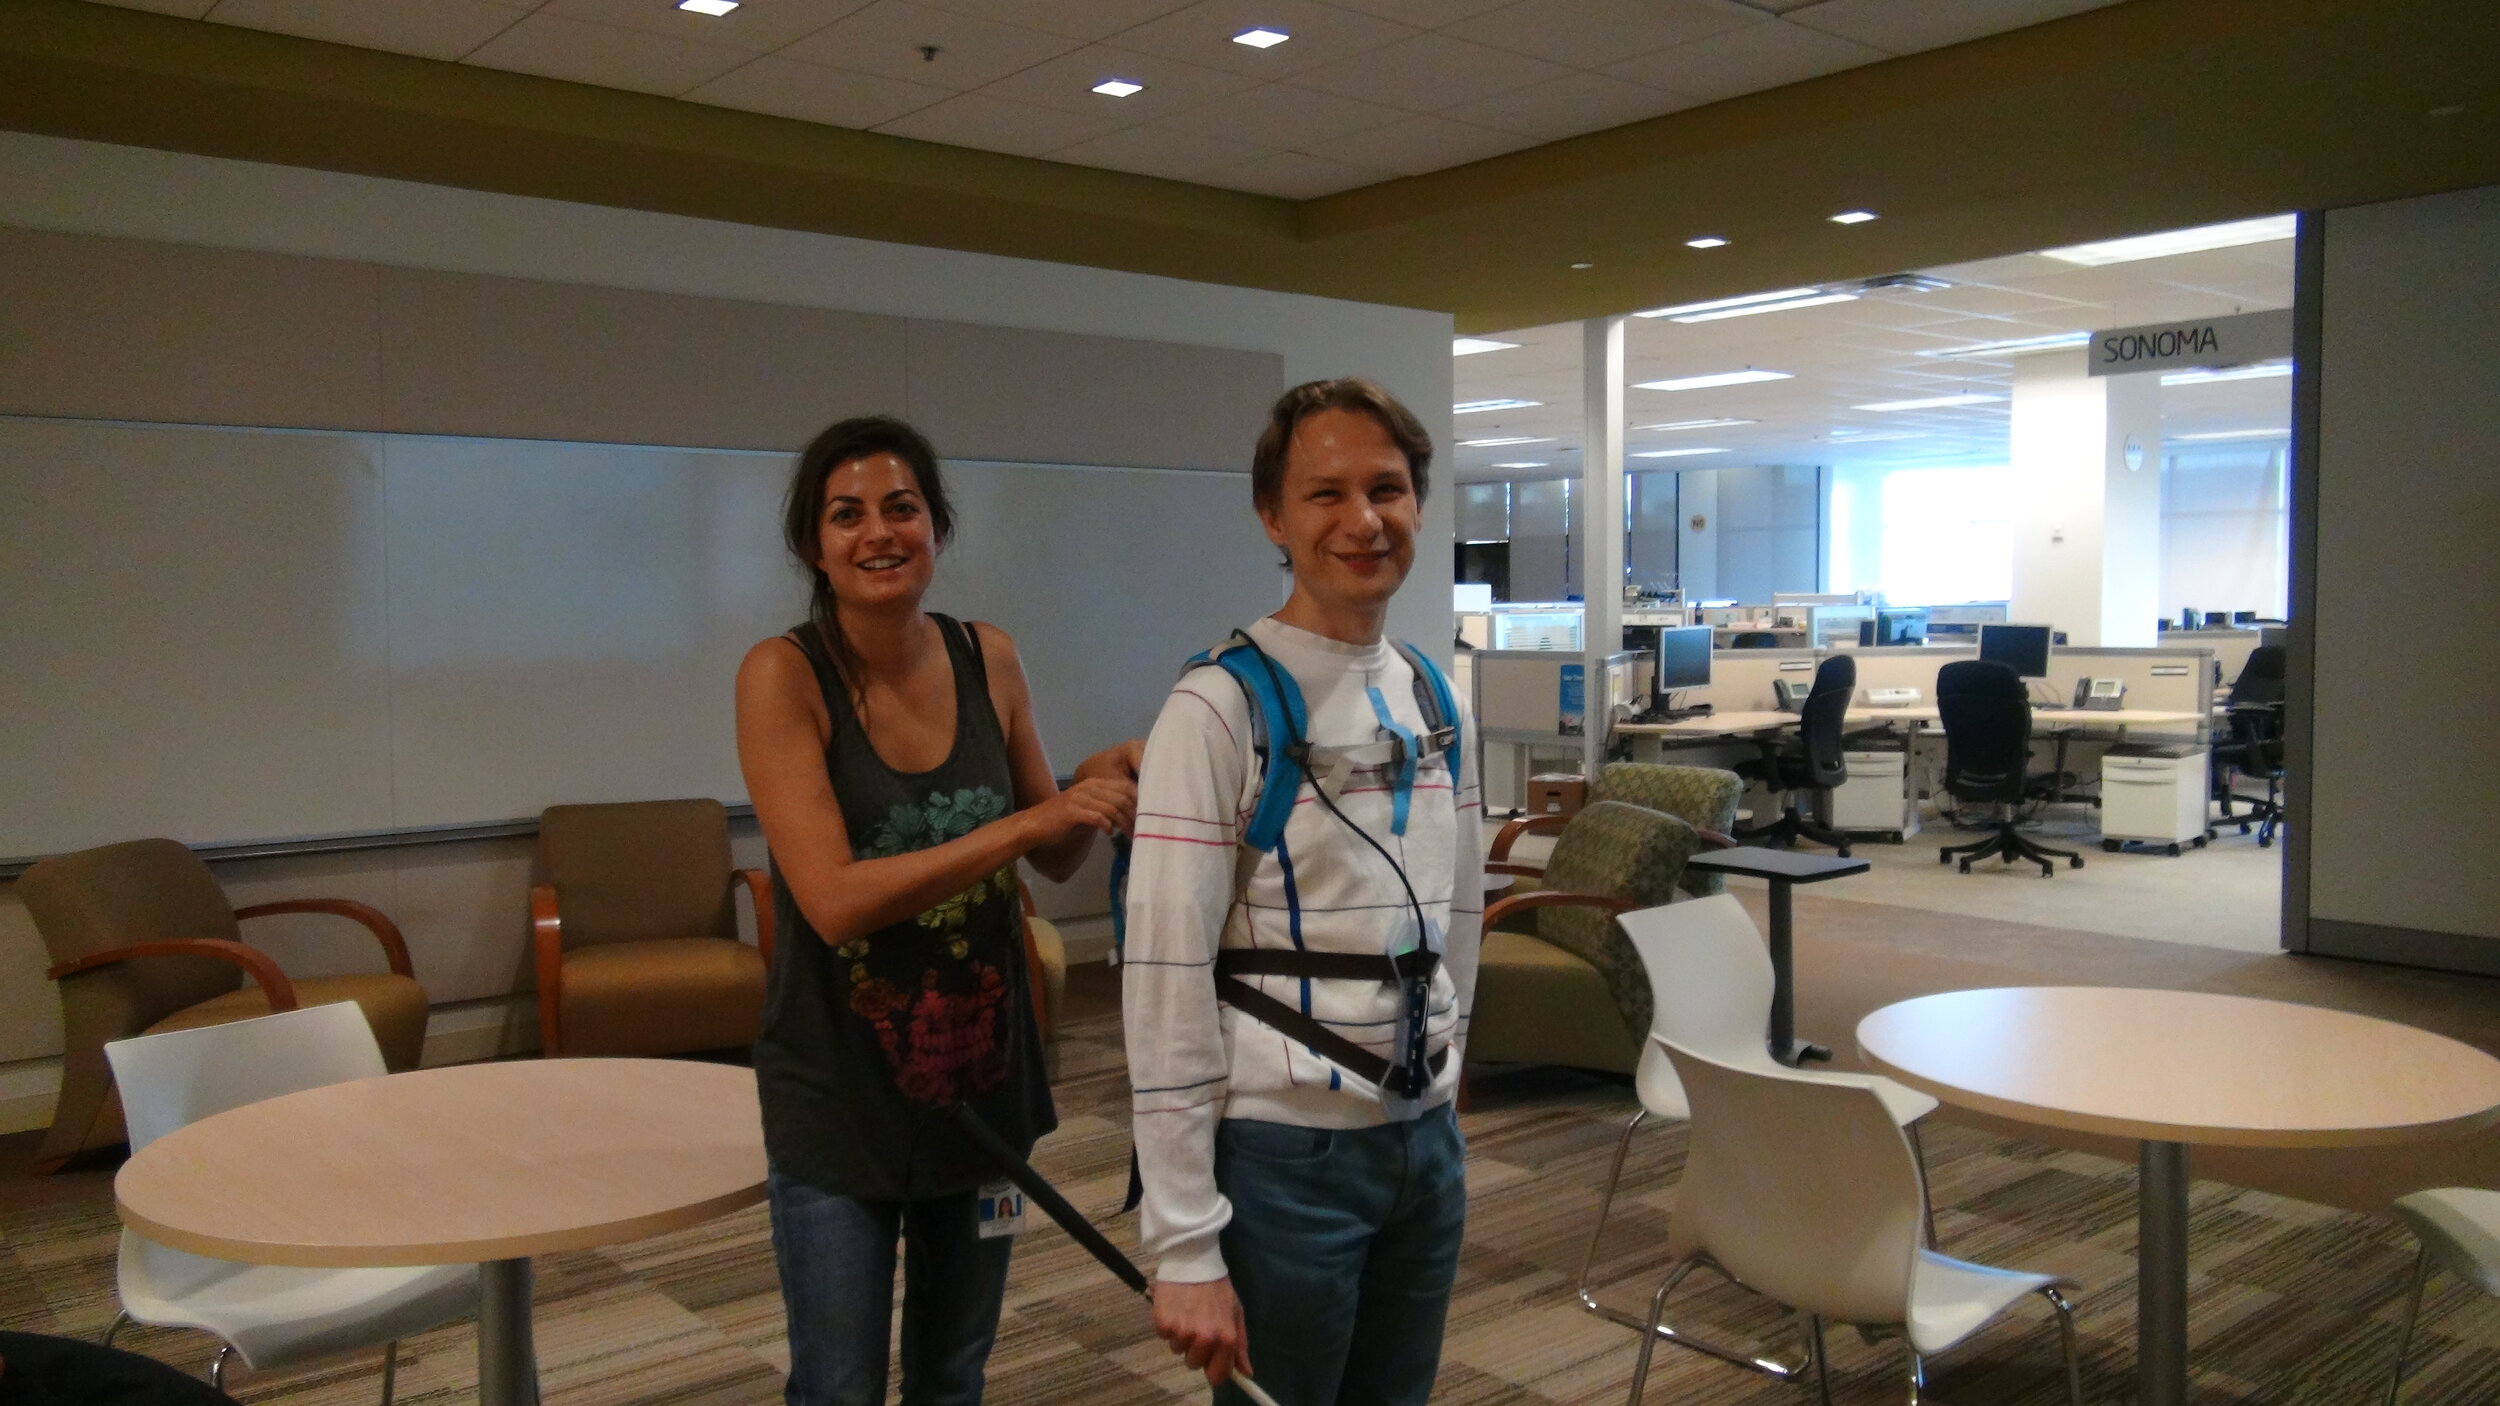
Shani and the volunteer testing the initial device
When the team came to me, they had already created a working rig and tested it with an Intel employee volunteer who was sight impaired. The design for the device’s wearable housing needed to be updated, but they were at the limits of their fashion design skills. The project had shown a lot of promise and it was a contender to be shown onstage at the upcoming CES show. Therefore, they wanted to level up the design a little.
Components
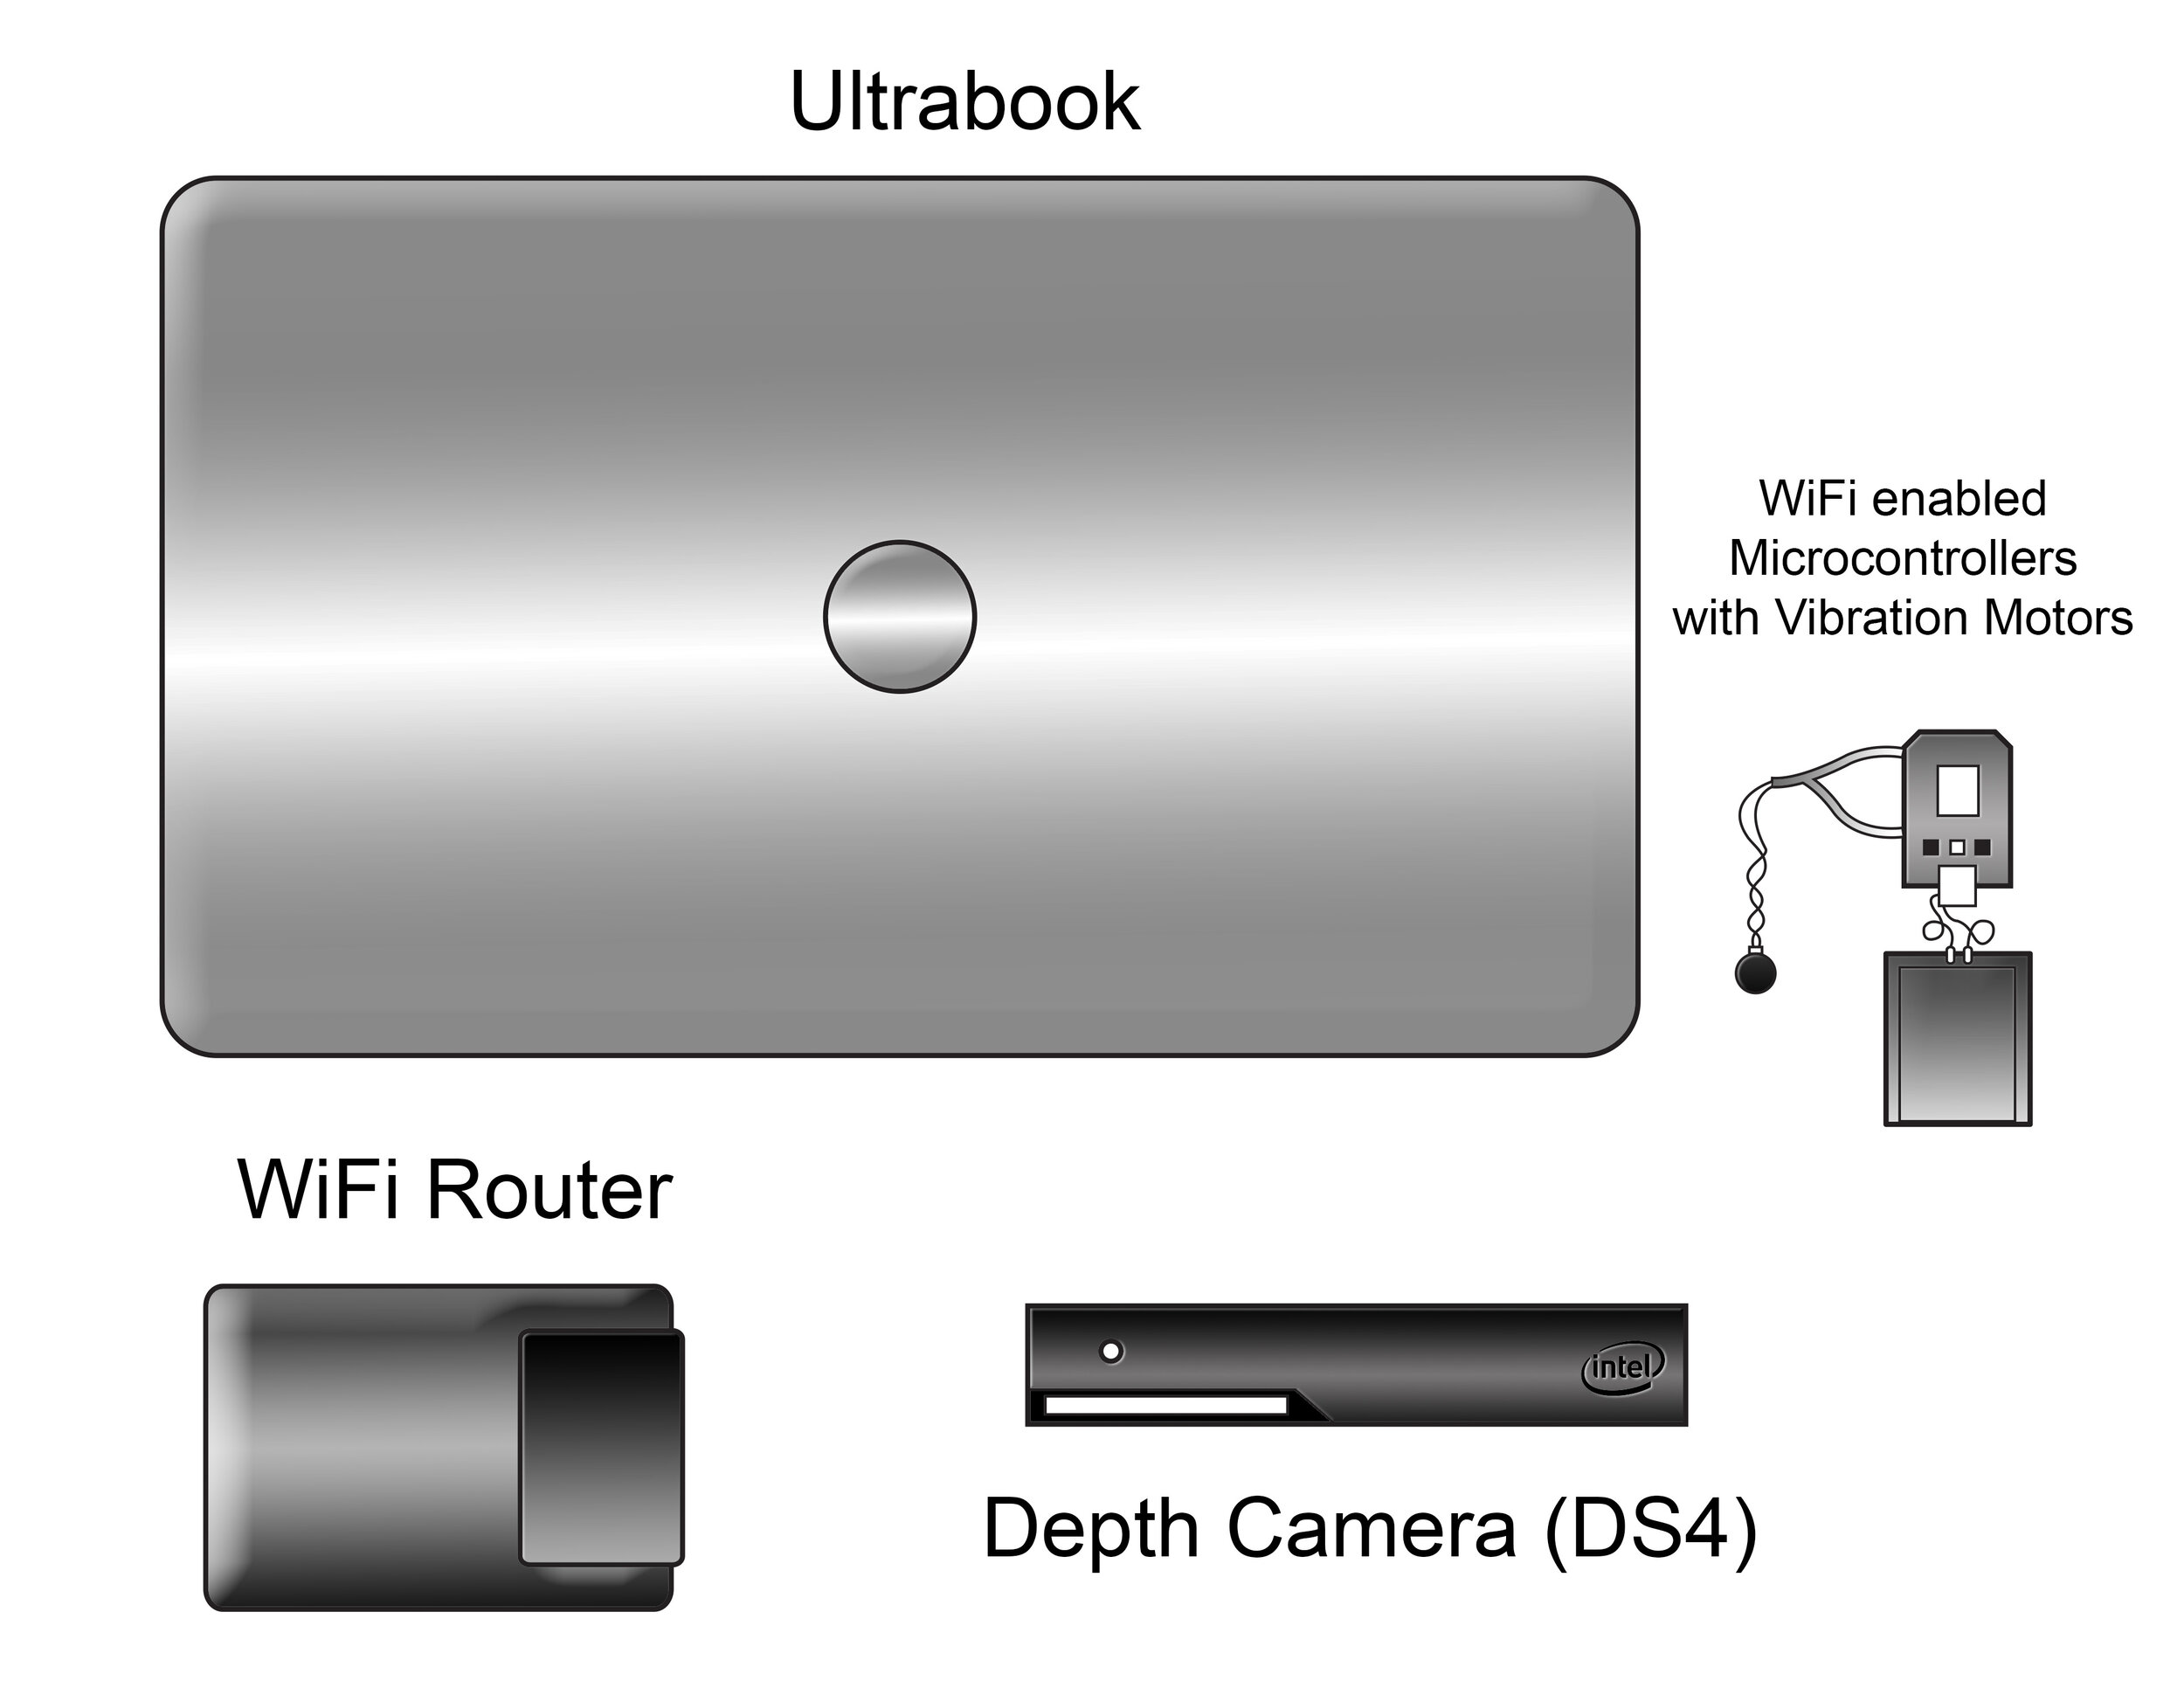
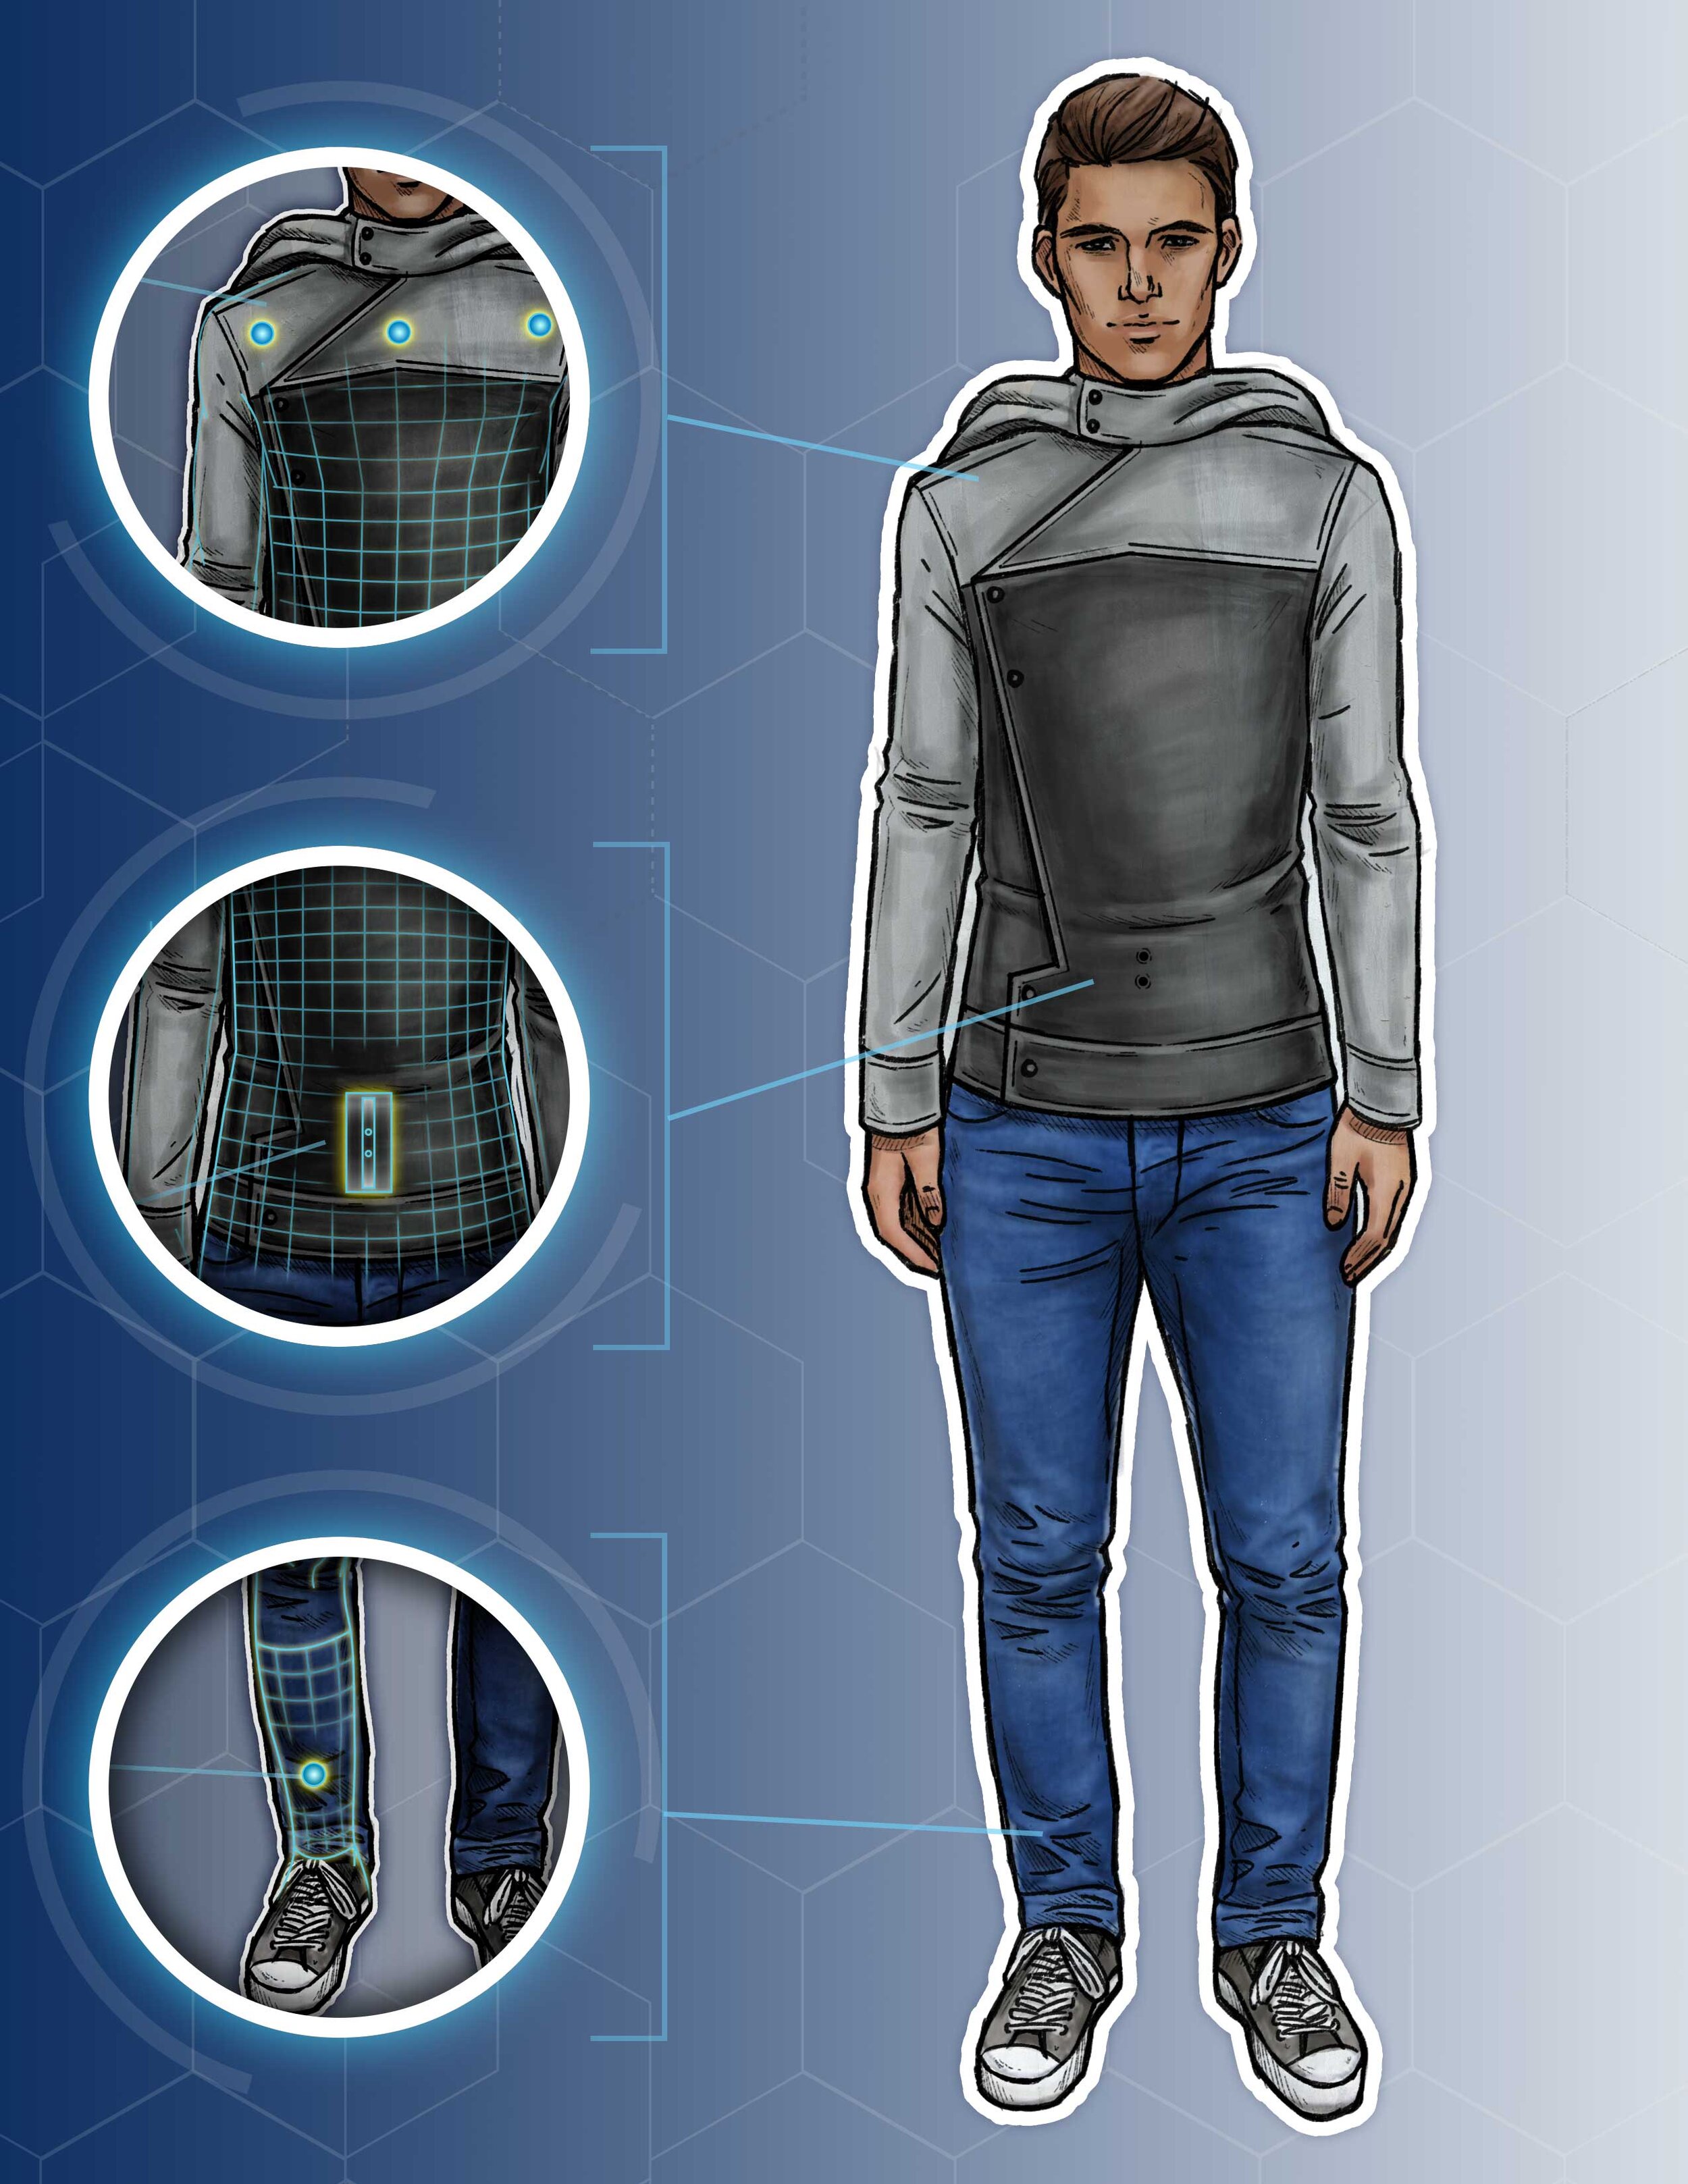
The sensor rig consisted of:
Eight wifi controlled microcontrollers with vibration motors in 3D printed housings - three across the chest, three across the hips, and two at the ankles.
An Intel RealSense Camera mounted vertically at the center of the abdomen.
A laptop computer to run the program.
A wifi router.
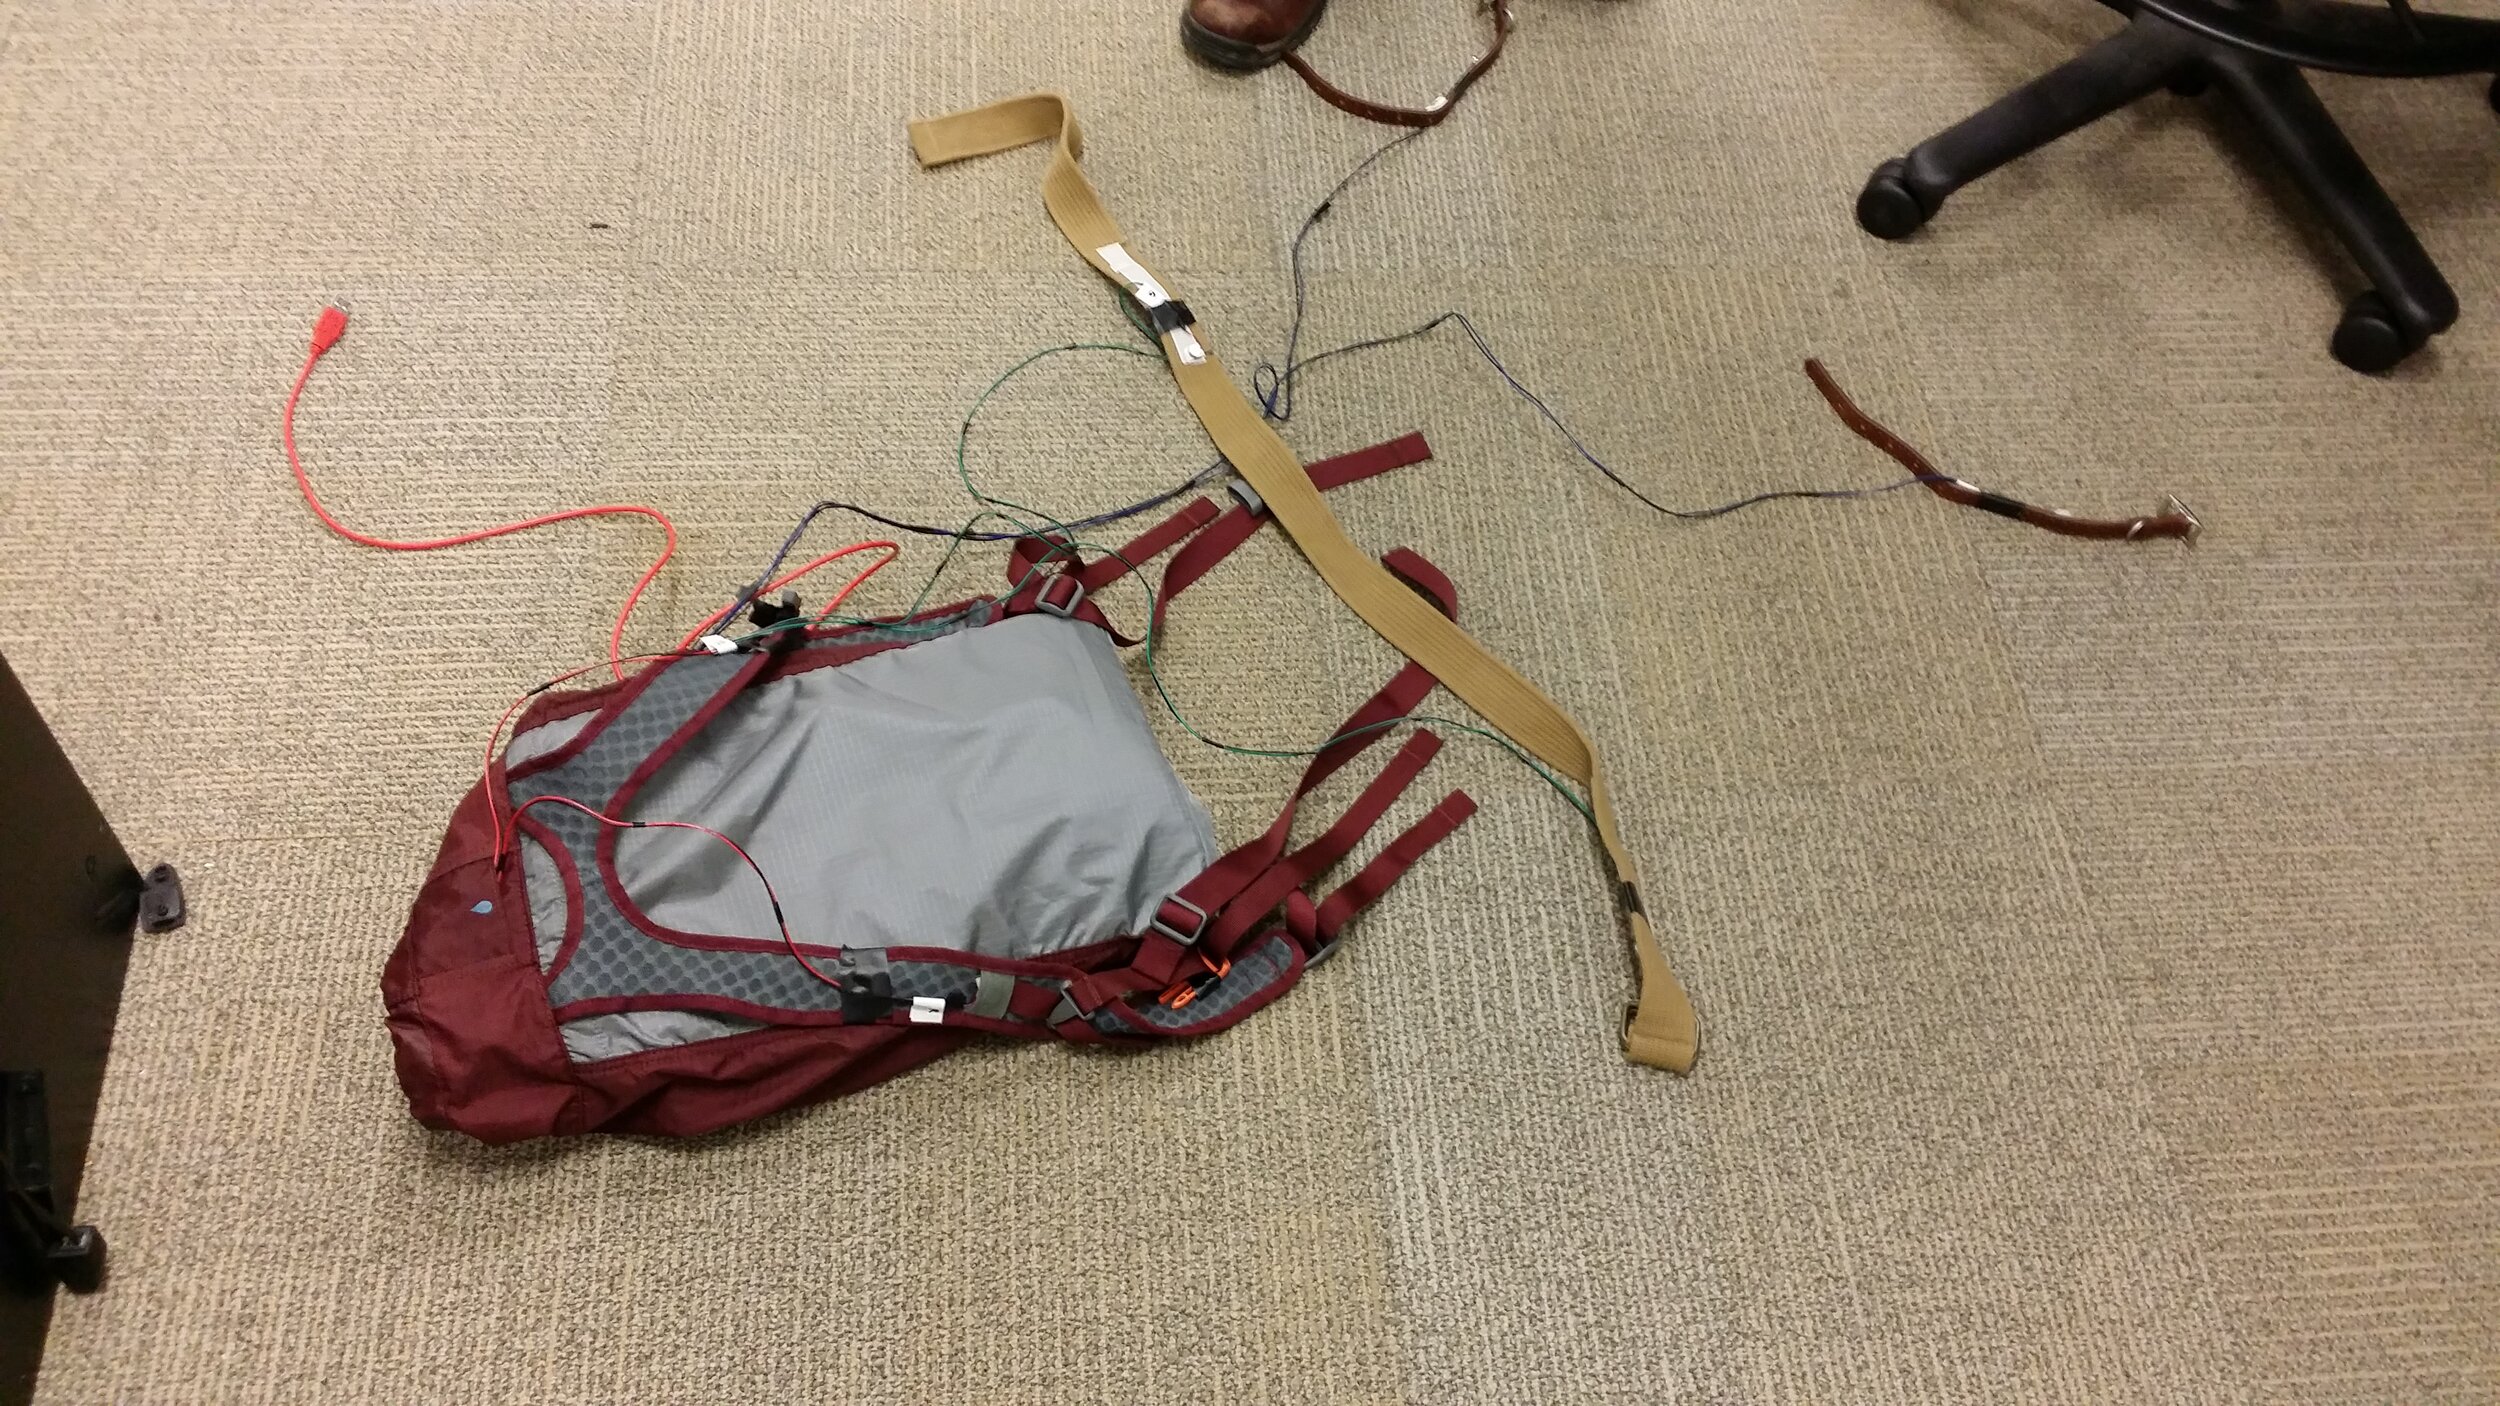
A wiring harness that connected everything and ran across the chest, down the legs, and to the laptop.
The team was currently using a system of belts, elastic bands, and a backpack to hold the laptop and router.
Design Considerations
The placement of the sensors at the chest, hips, and ankles was key. So was the vertical position of the camera. It needed to be held in place with as little movement as possible to get an accurate reading. The RealSense camera “sees” in 3D space. If the person wearing the device got too close to an object, the closest sensor would vibrate to let them know. The wiring harness that connected all the components needed to be securely fastened while still allowing for mobility. It also needed to be reliably connected to the laptop and router at all times, in order to run the program.

High-Level Concepts
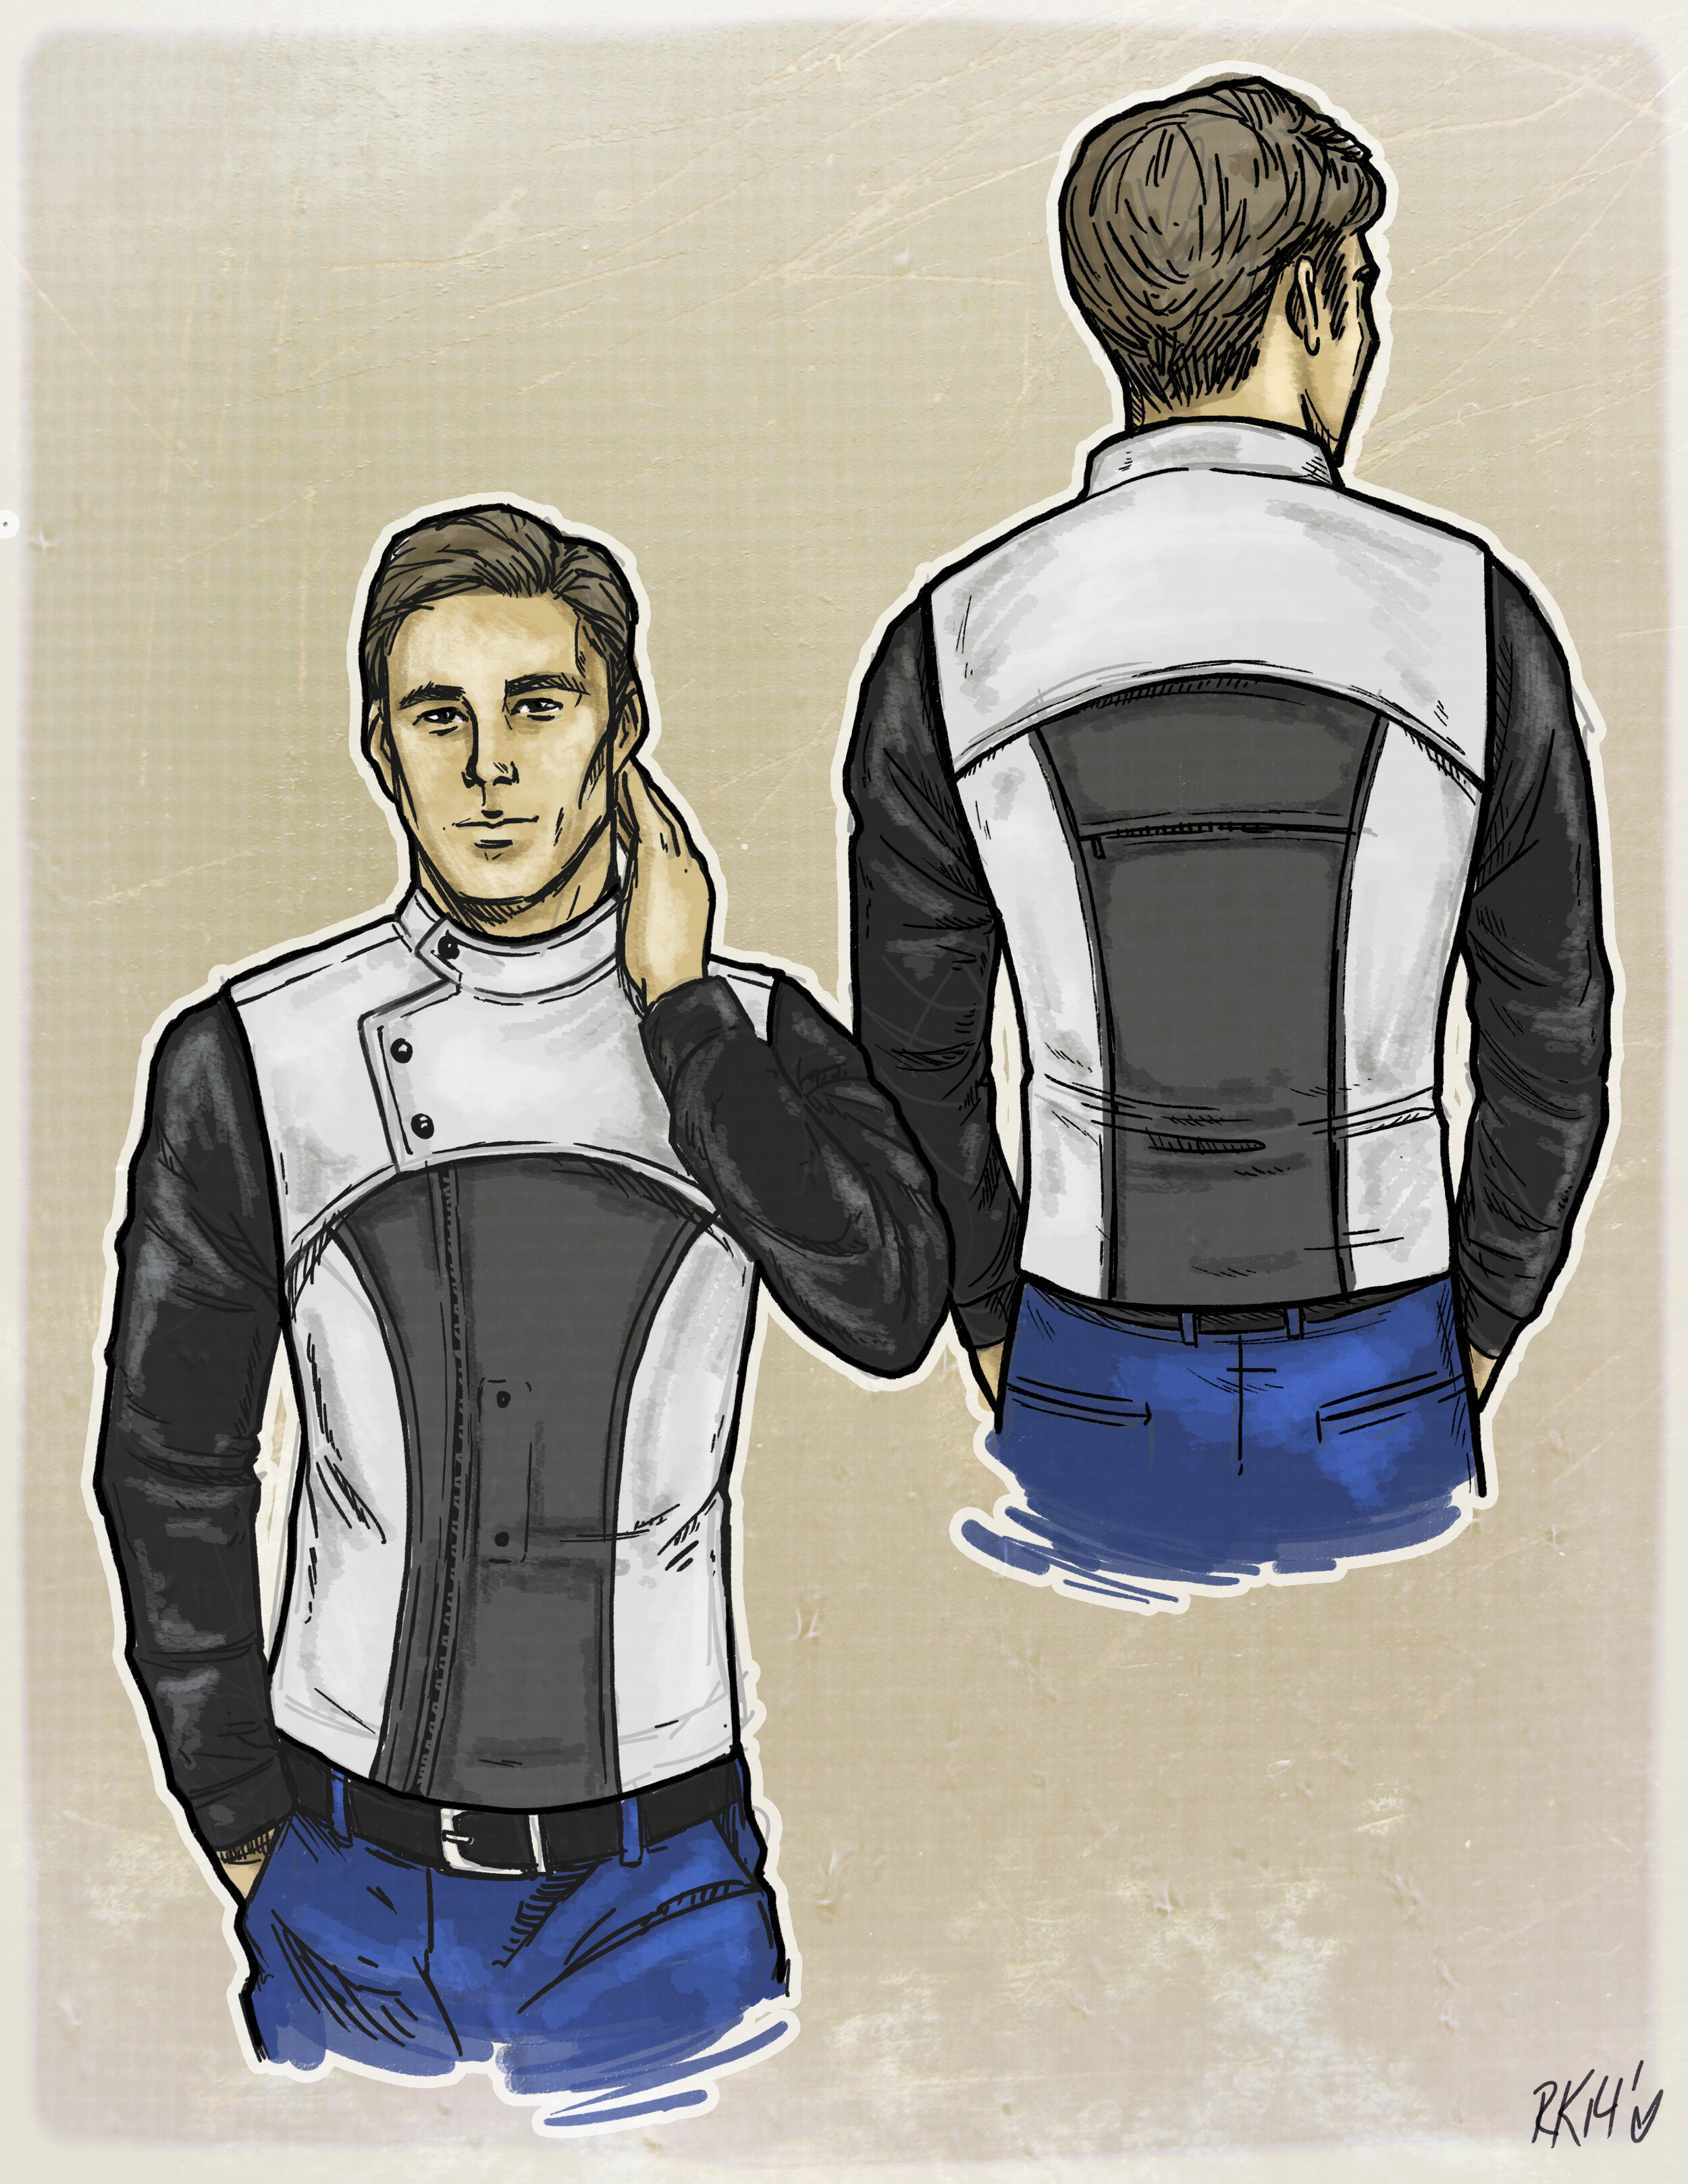
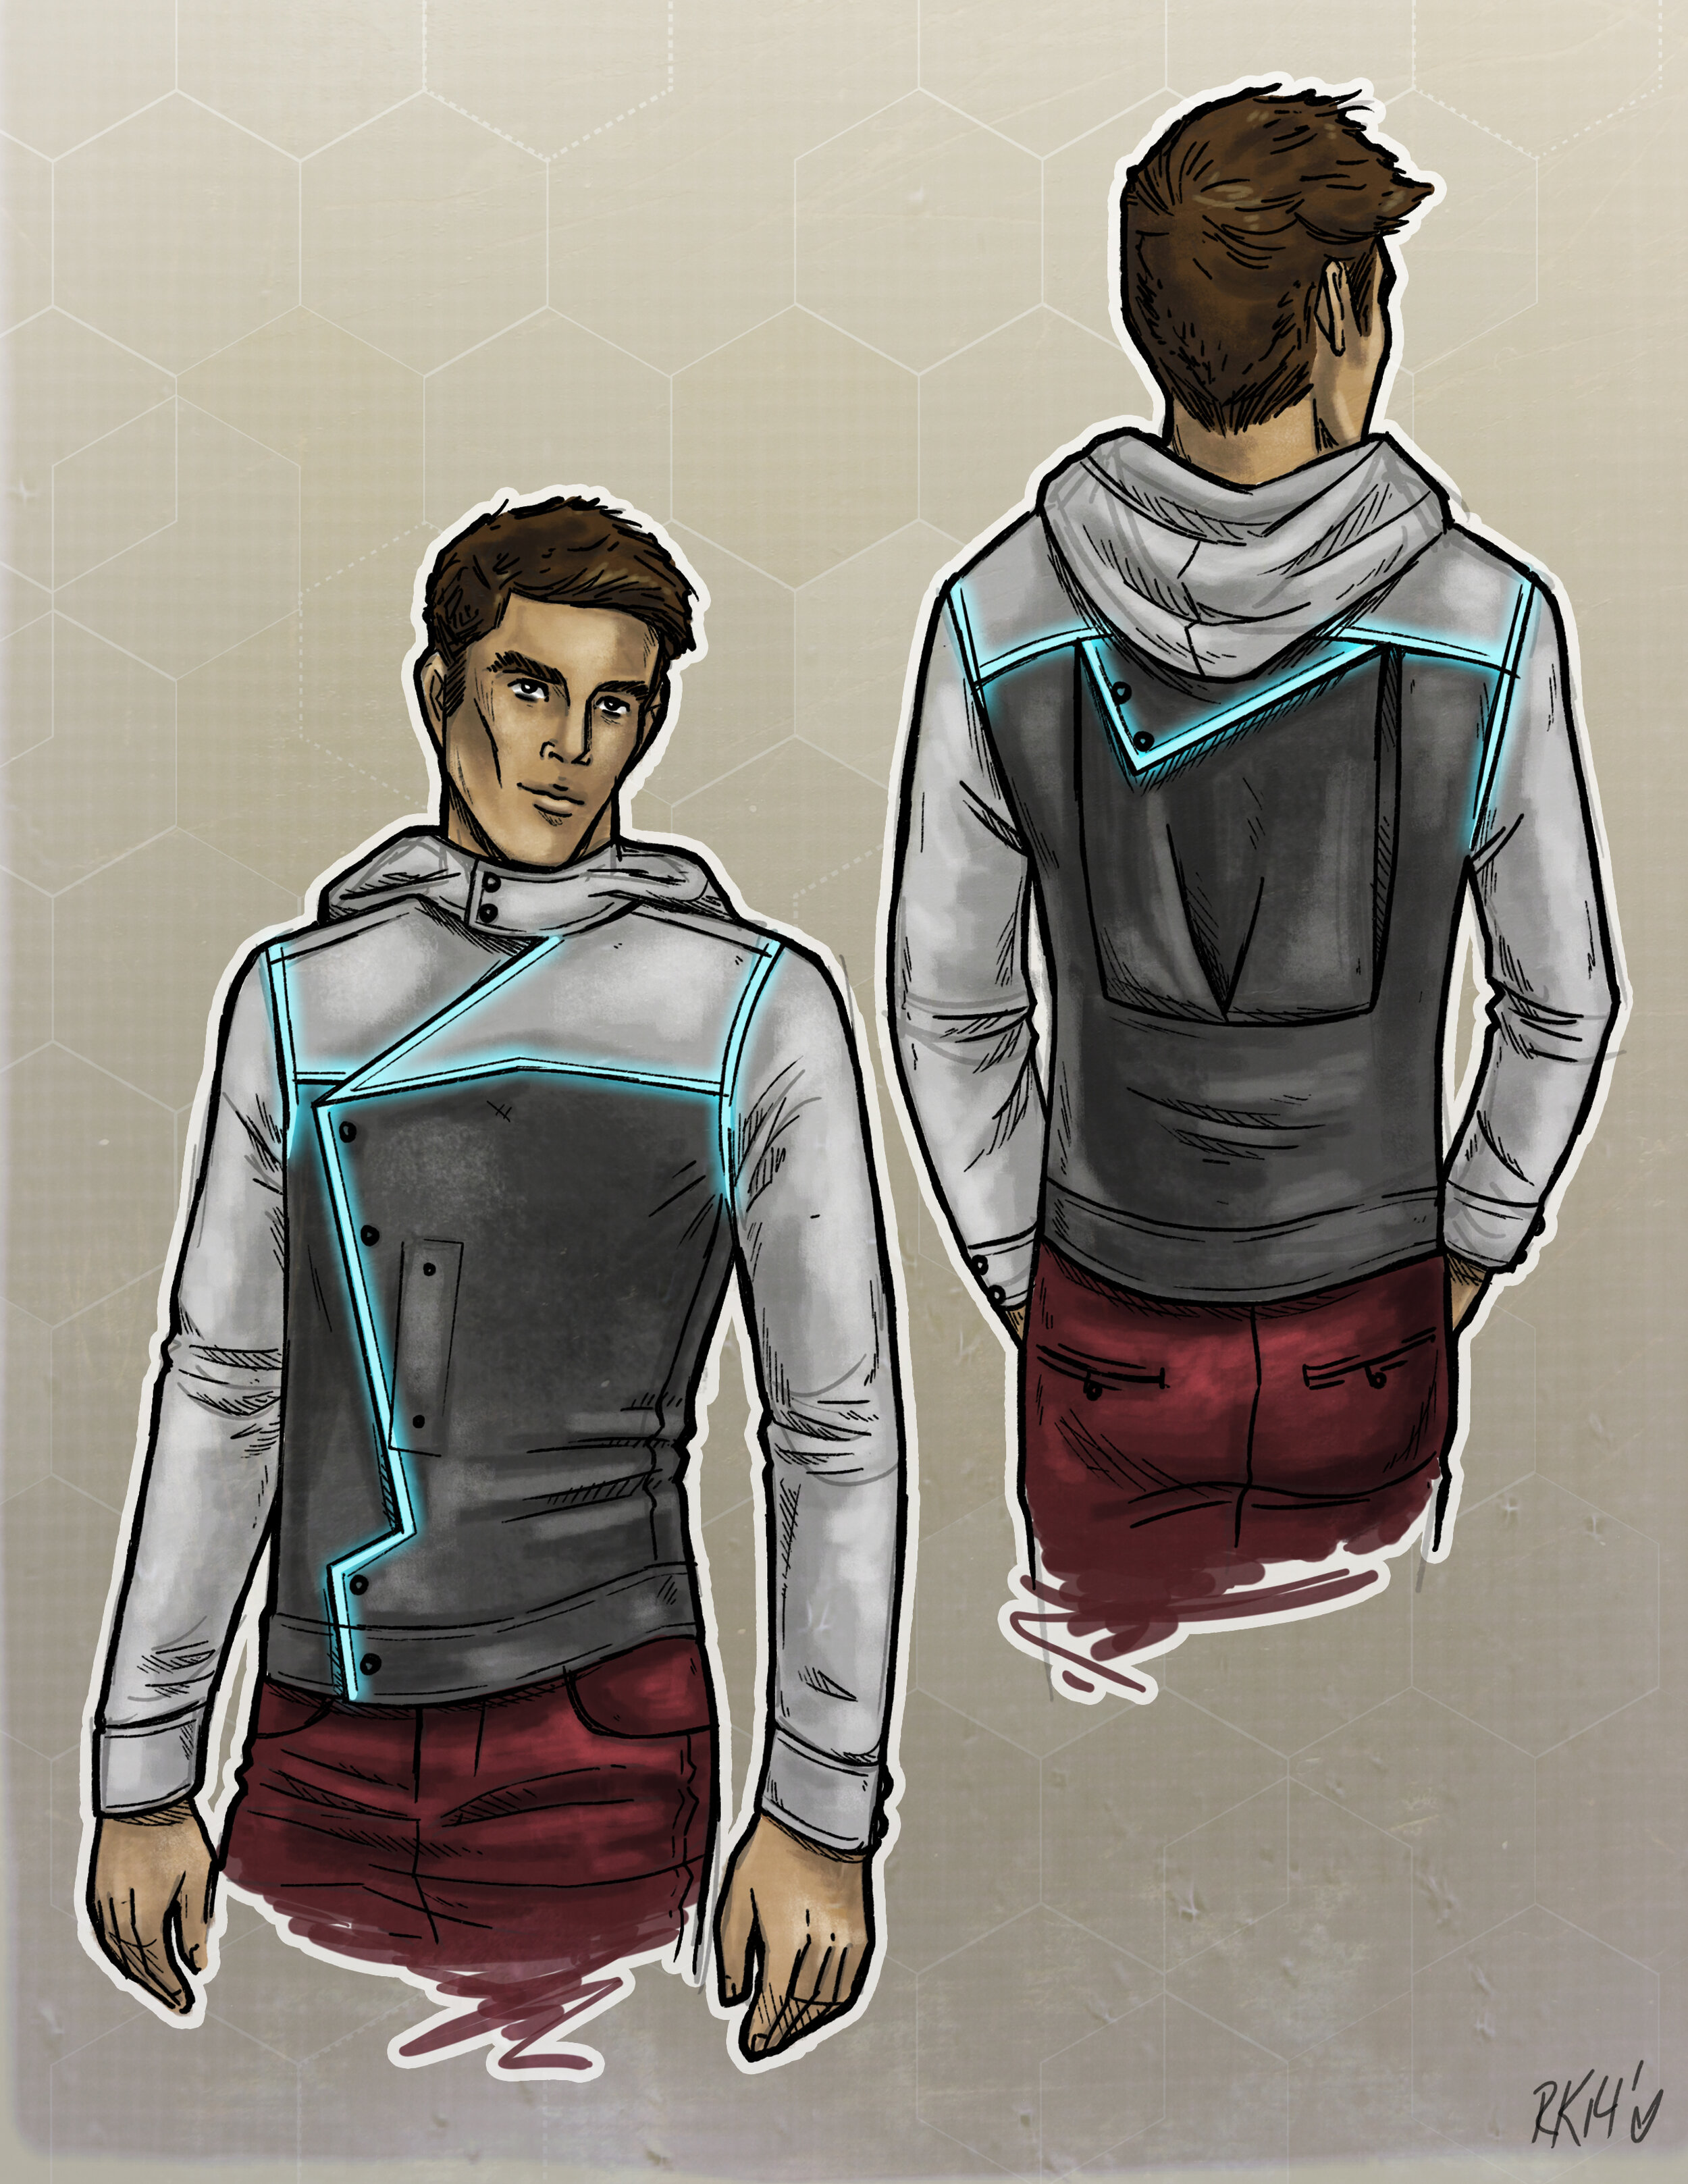
Initially, our program manager wanted a very high fashion, tech wearable look for the outfit to hold the device. He envisioned a modern Star Trek style look being shown onstage.
I designed a few concepts for a high fashion jacket and backpack combo that would be able to hold all the components. These drawings were included in the pitch to Brian Krzanich for the CES demo.
Final Concept
Brian decided that he would rather show a “wires out” design that was less polished and showed off more of the design components. So we scrapped the high fashion design. Instead, we decided to go with a few iterations of a more simple outfit.
Turnaround time was tight. The show was a few weeks away and we needed to create multiple versions of a working rig. We needed two versions for on stage - one for Darryl, the vision empaired Intel employee who would be demoing the prototype, one on a mannequin.
The final outfit design was for a tight, Under Armour style tee shirt and leggings that could be comfortably worn under regular clothes. We added a modified Intel branded jacket that held a RealSense camera for Darryl to wear as the on-stage version.
I had wanted to create an integrated backpack/jacket, but we decided to go with the same method of using a separate backpack to carry the laptop/router. This was because the laptop/router needed to be able to be switched and swapped quickly if there were any technical errors. Having a separate backpack meant that additional rigs could be prepared ahead and simply plugged in.
Fabrication
Since Darryl lived in another state, I wouldn’t be able to fit him. I asked him what size he wore in Under Armour and ordered a tee shirt and leggings from Amazon. I also ordered some of the same type of fabric Under Armor shirts are made from, and some stretchy white mesh fabric.
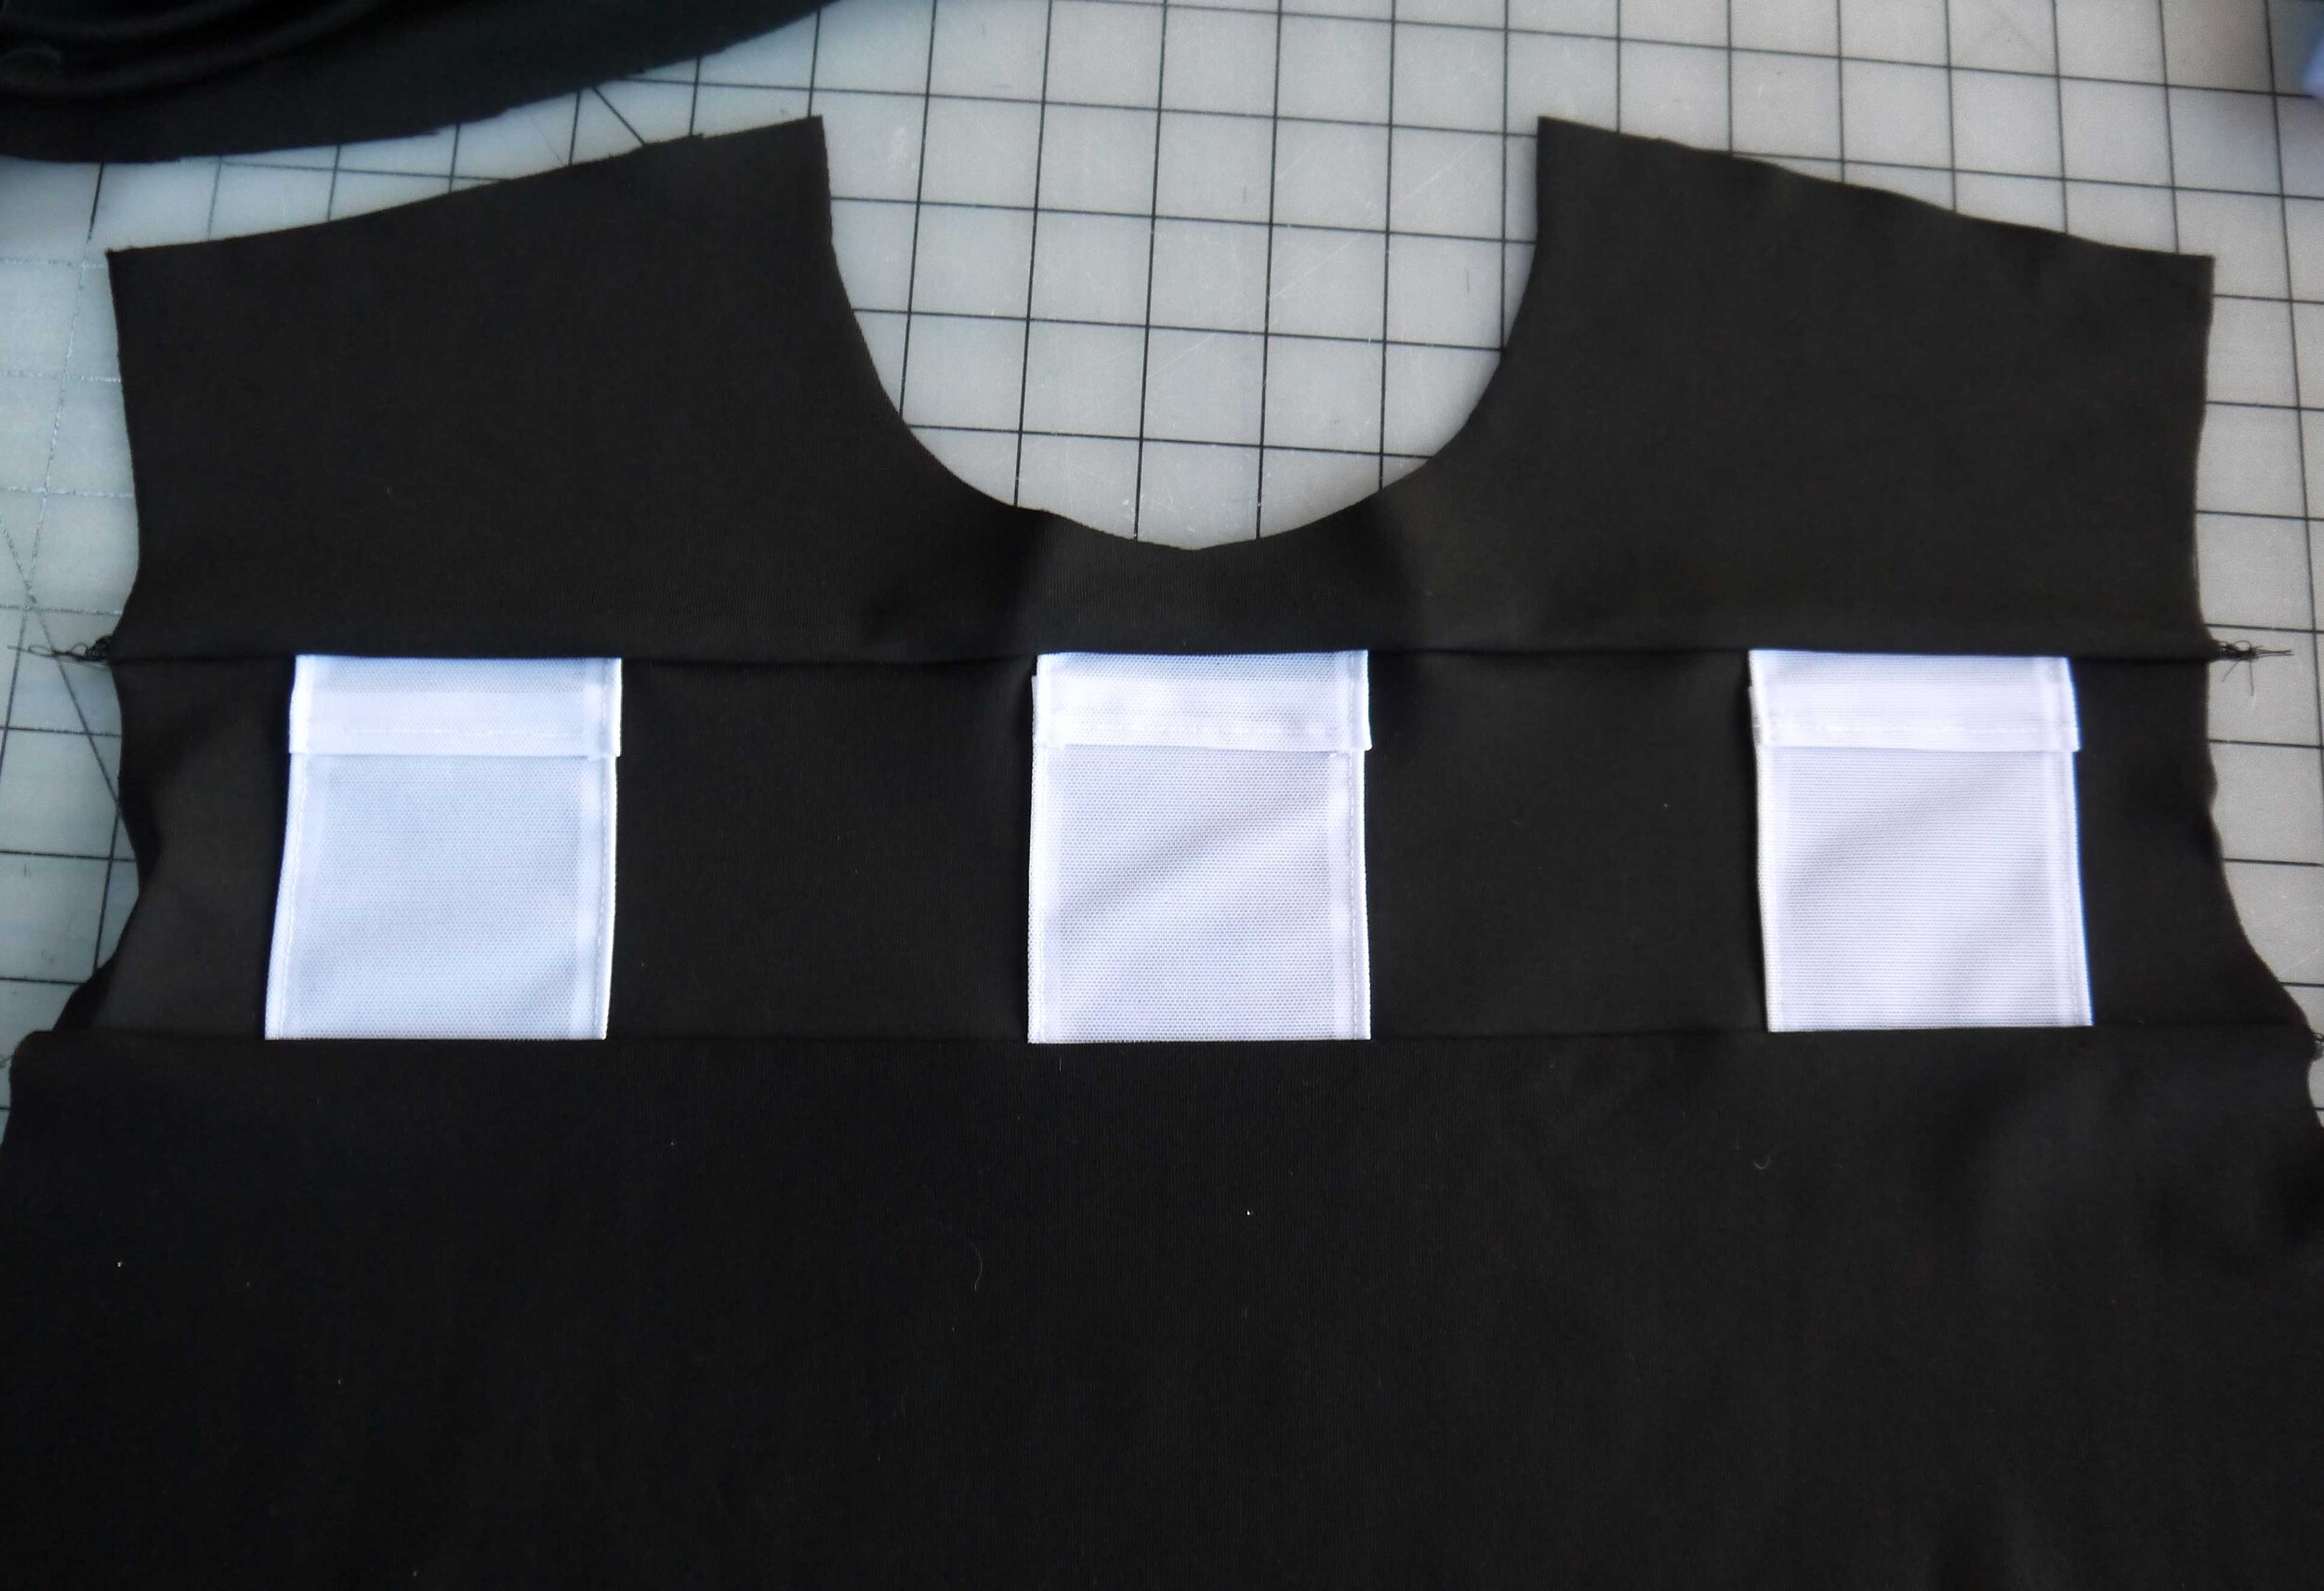
I needed to make a whole new shirt from scratch. The reason I couldn’t just modify the Under Armour shirt is that the design of pockets for the sensors and inner channels for the wiring was deceptively complex. They needed to be built in. I used the Under Armour shirt for the base measurements and traced it to make a new pattern.

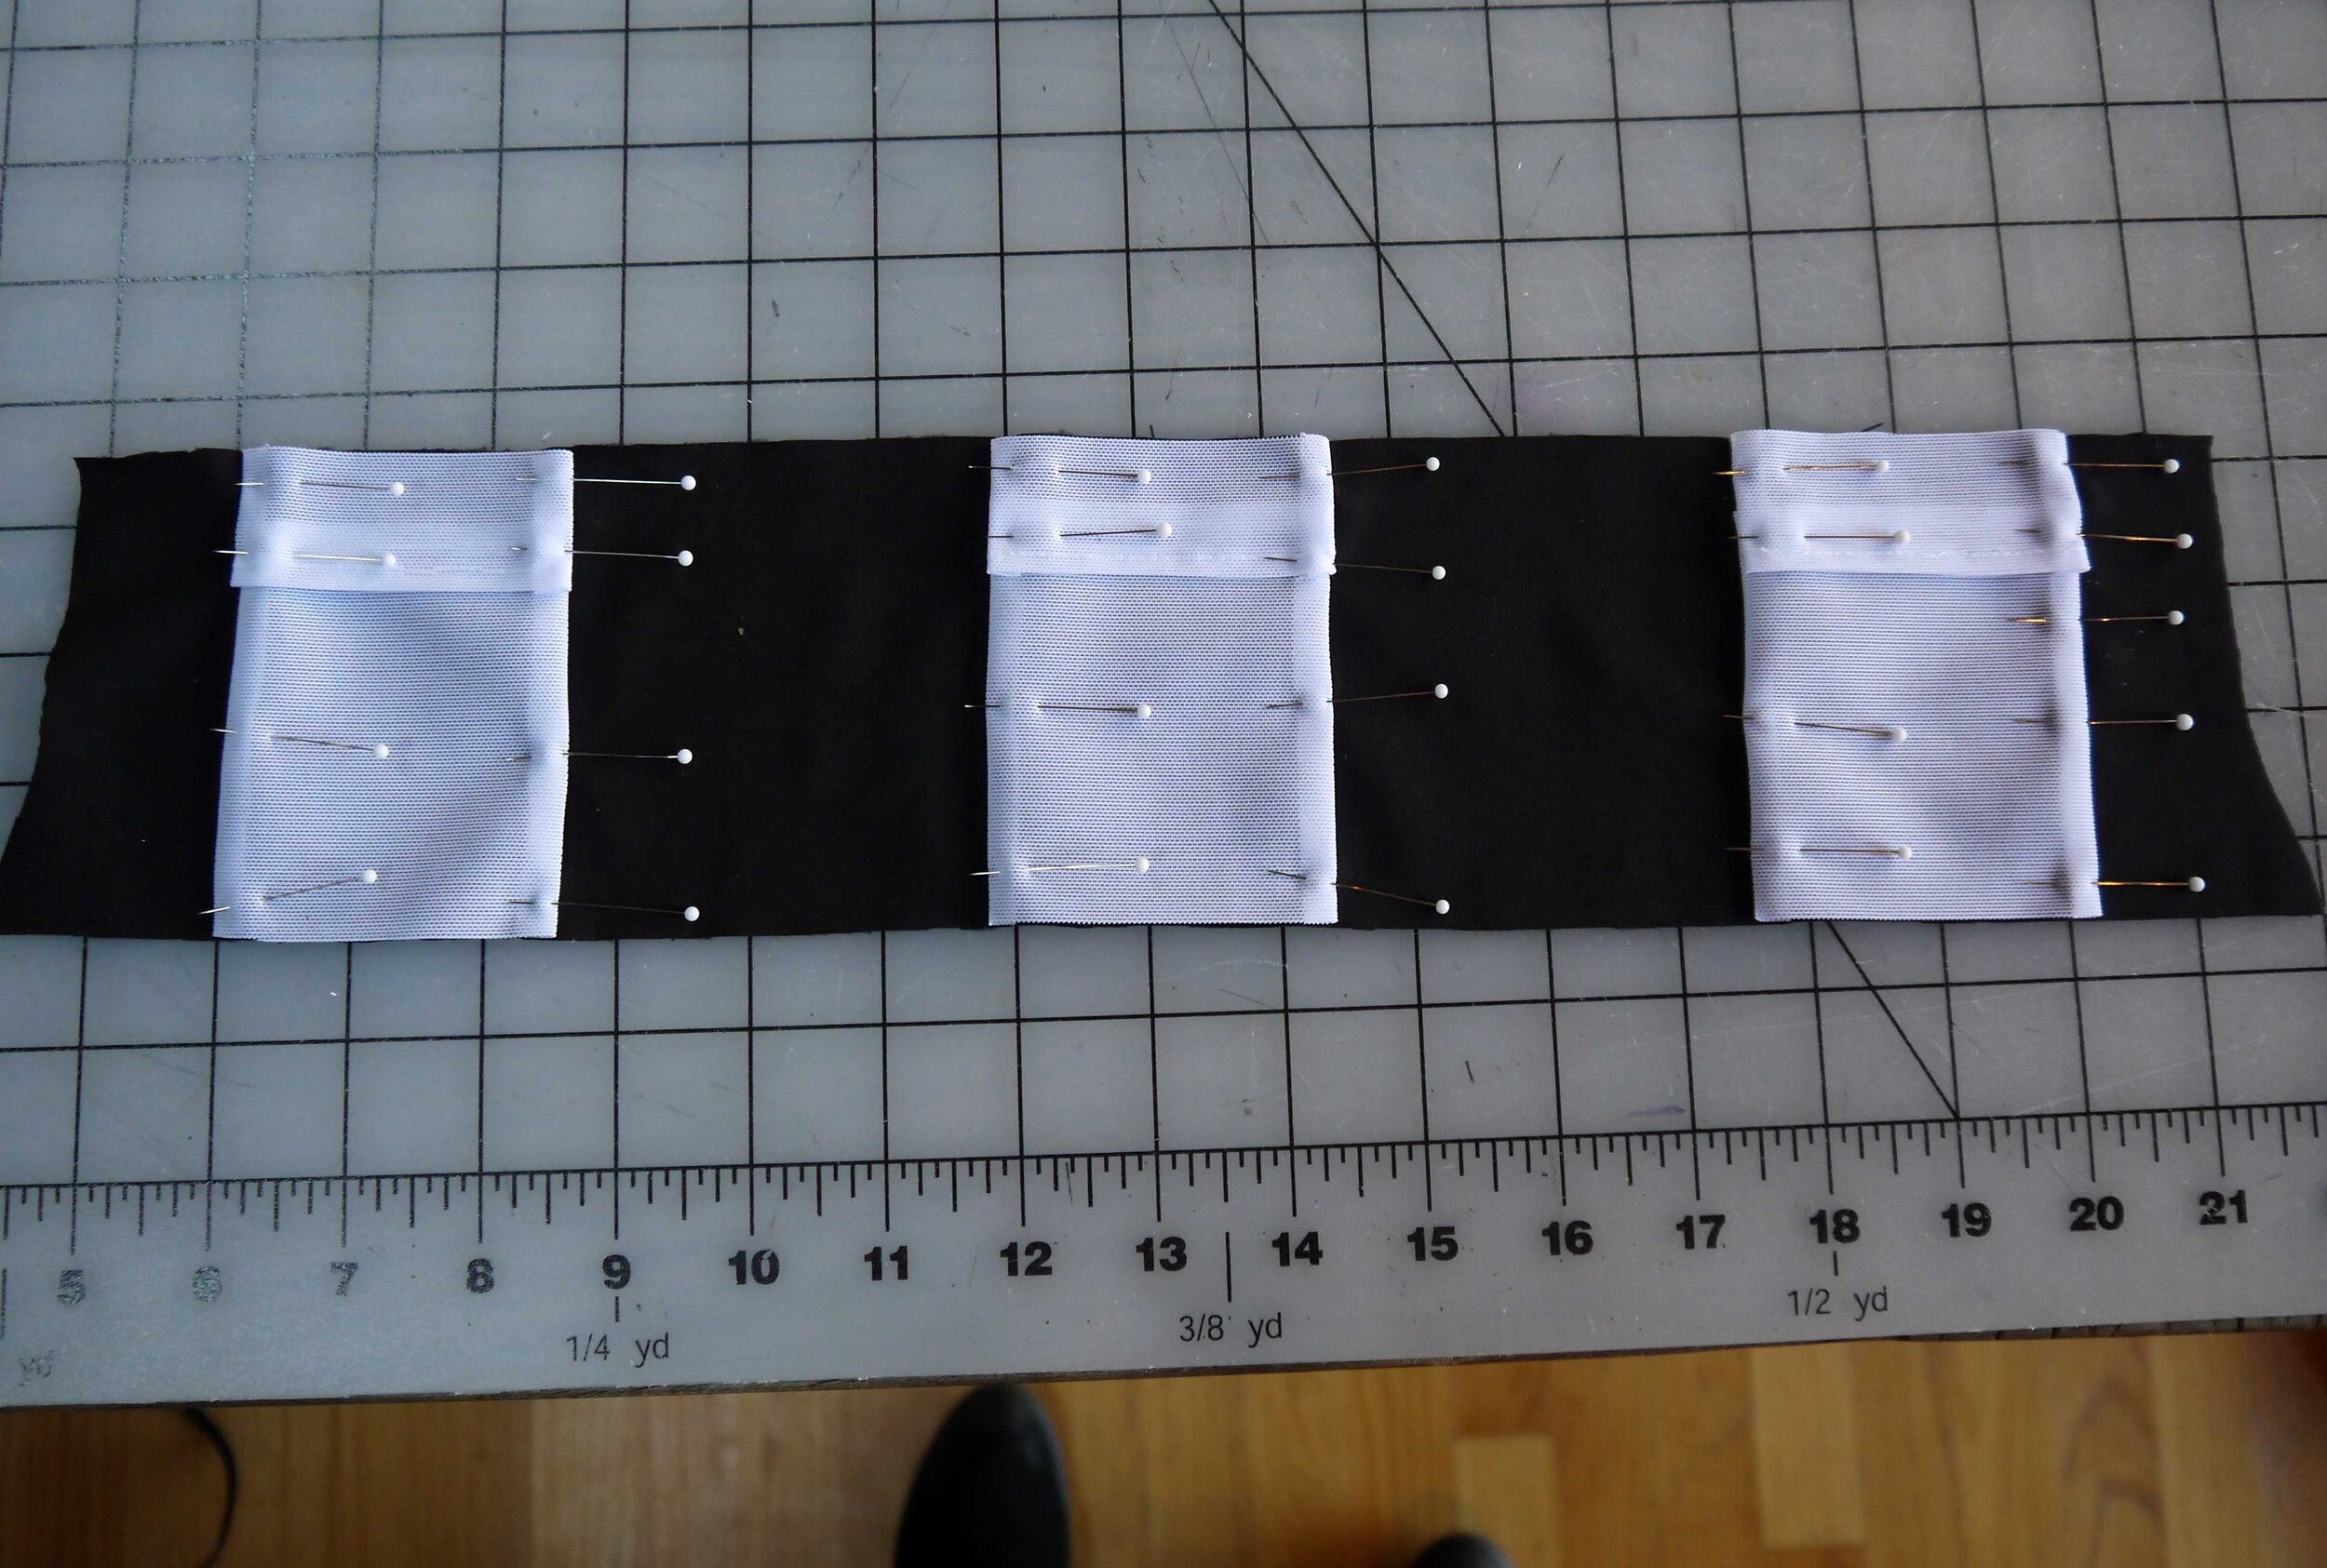
The pockets for the sensors were constructed of white mesh fabric. This was so that the lights from the sensors could be seen onstage. This would be a good visual for audience members to understand where they were located on the body.
The pockets needed to be easily accessed. They had to house the sensors securely, but also allow them to be switched in and out with ease. That meant no zippers or other fasteners. I chose a simple fold over style. The fabric was snug to keep them in place, but stretchy enough so that they could be removed with ease.
The sensor pockets were not sewn on top, but integrated into the front of the shirt. A small opening in the back of each was reinforced for the wires to poke through and connect to the sensors.
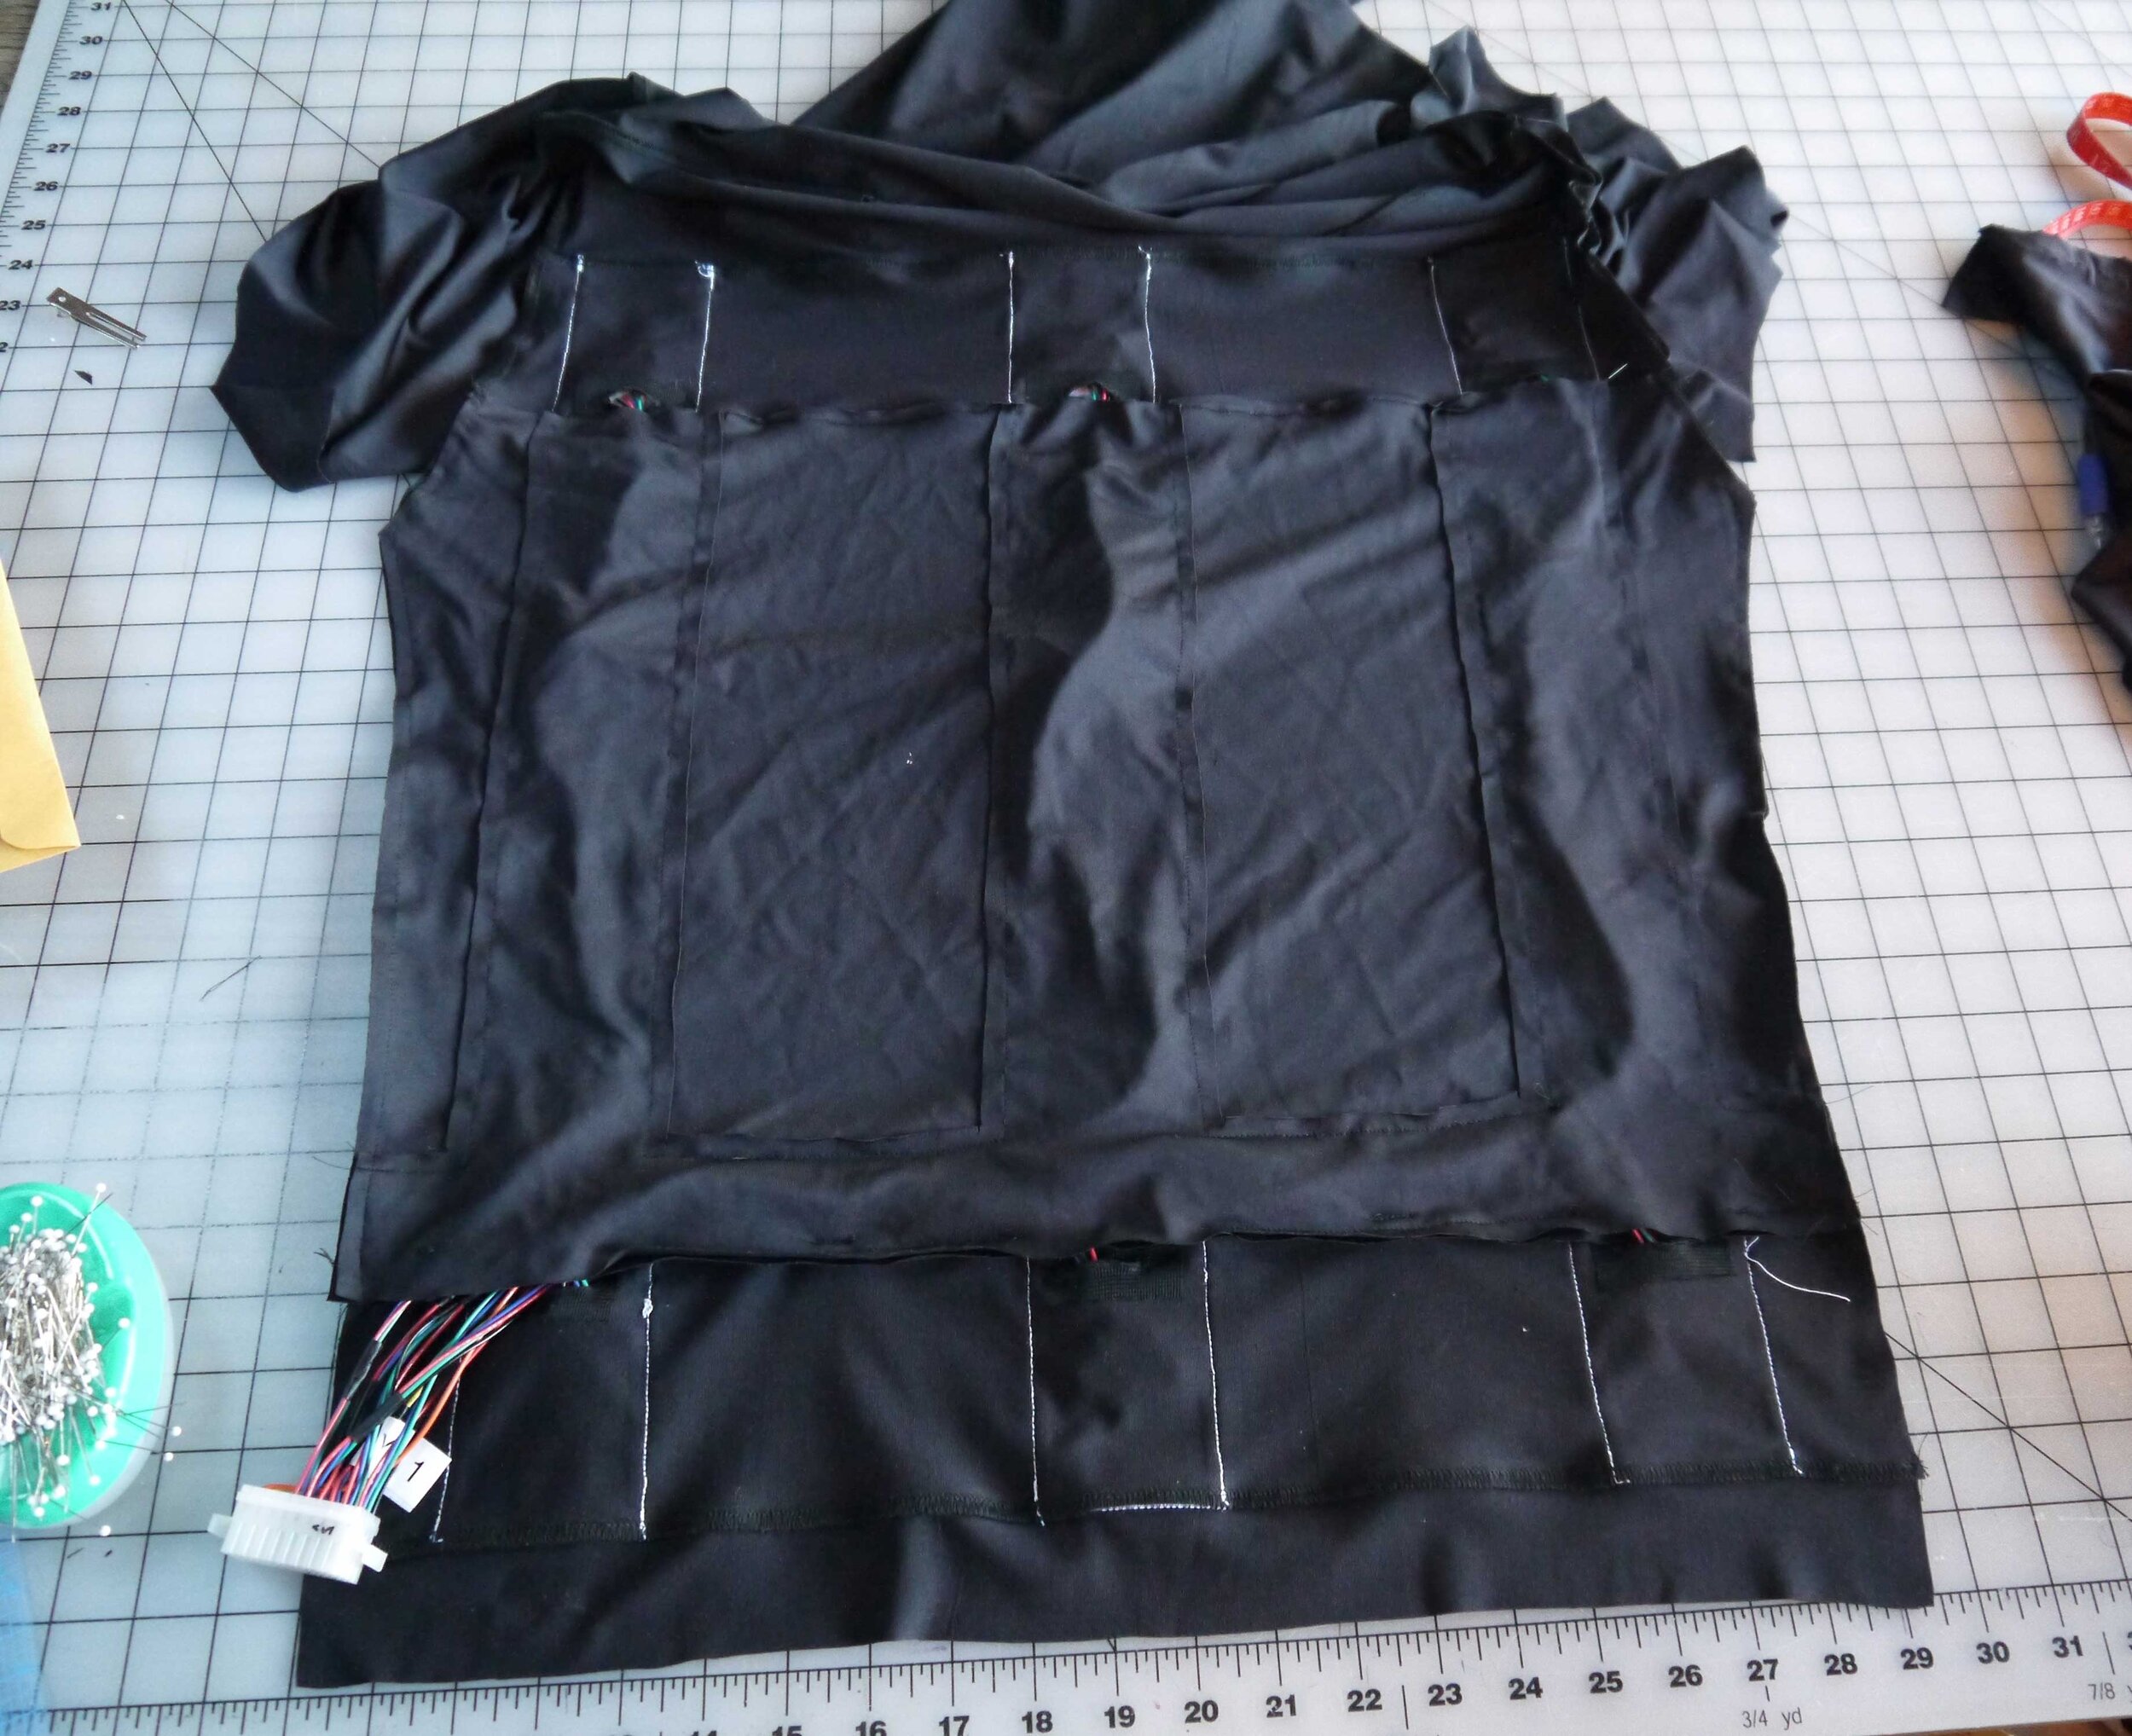
The wiring rig that connected each sensor to the backpack needed to be securely and comfortably housed on the inside of the shirt.

I constructed an inner layer that had connected channels for the wires to lay inside, keeping them organized.
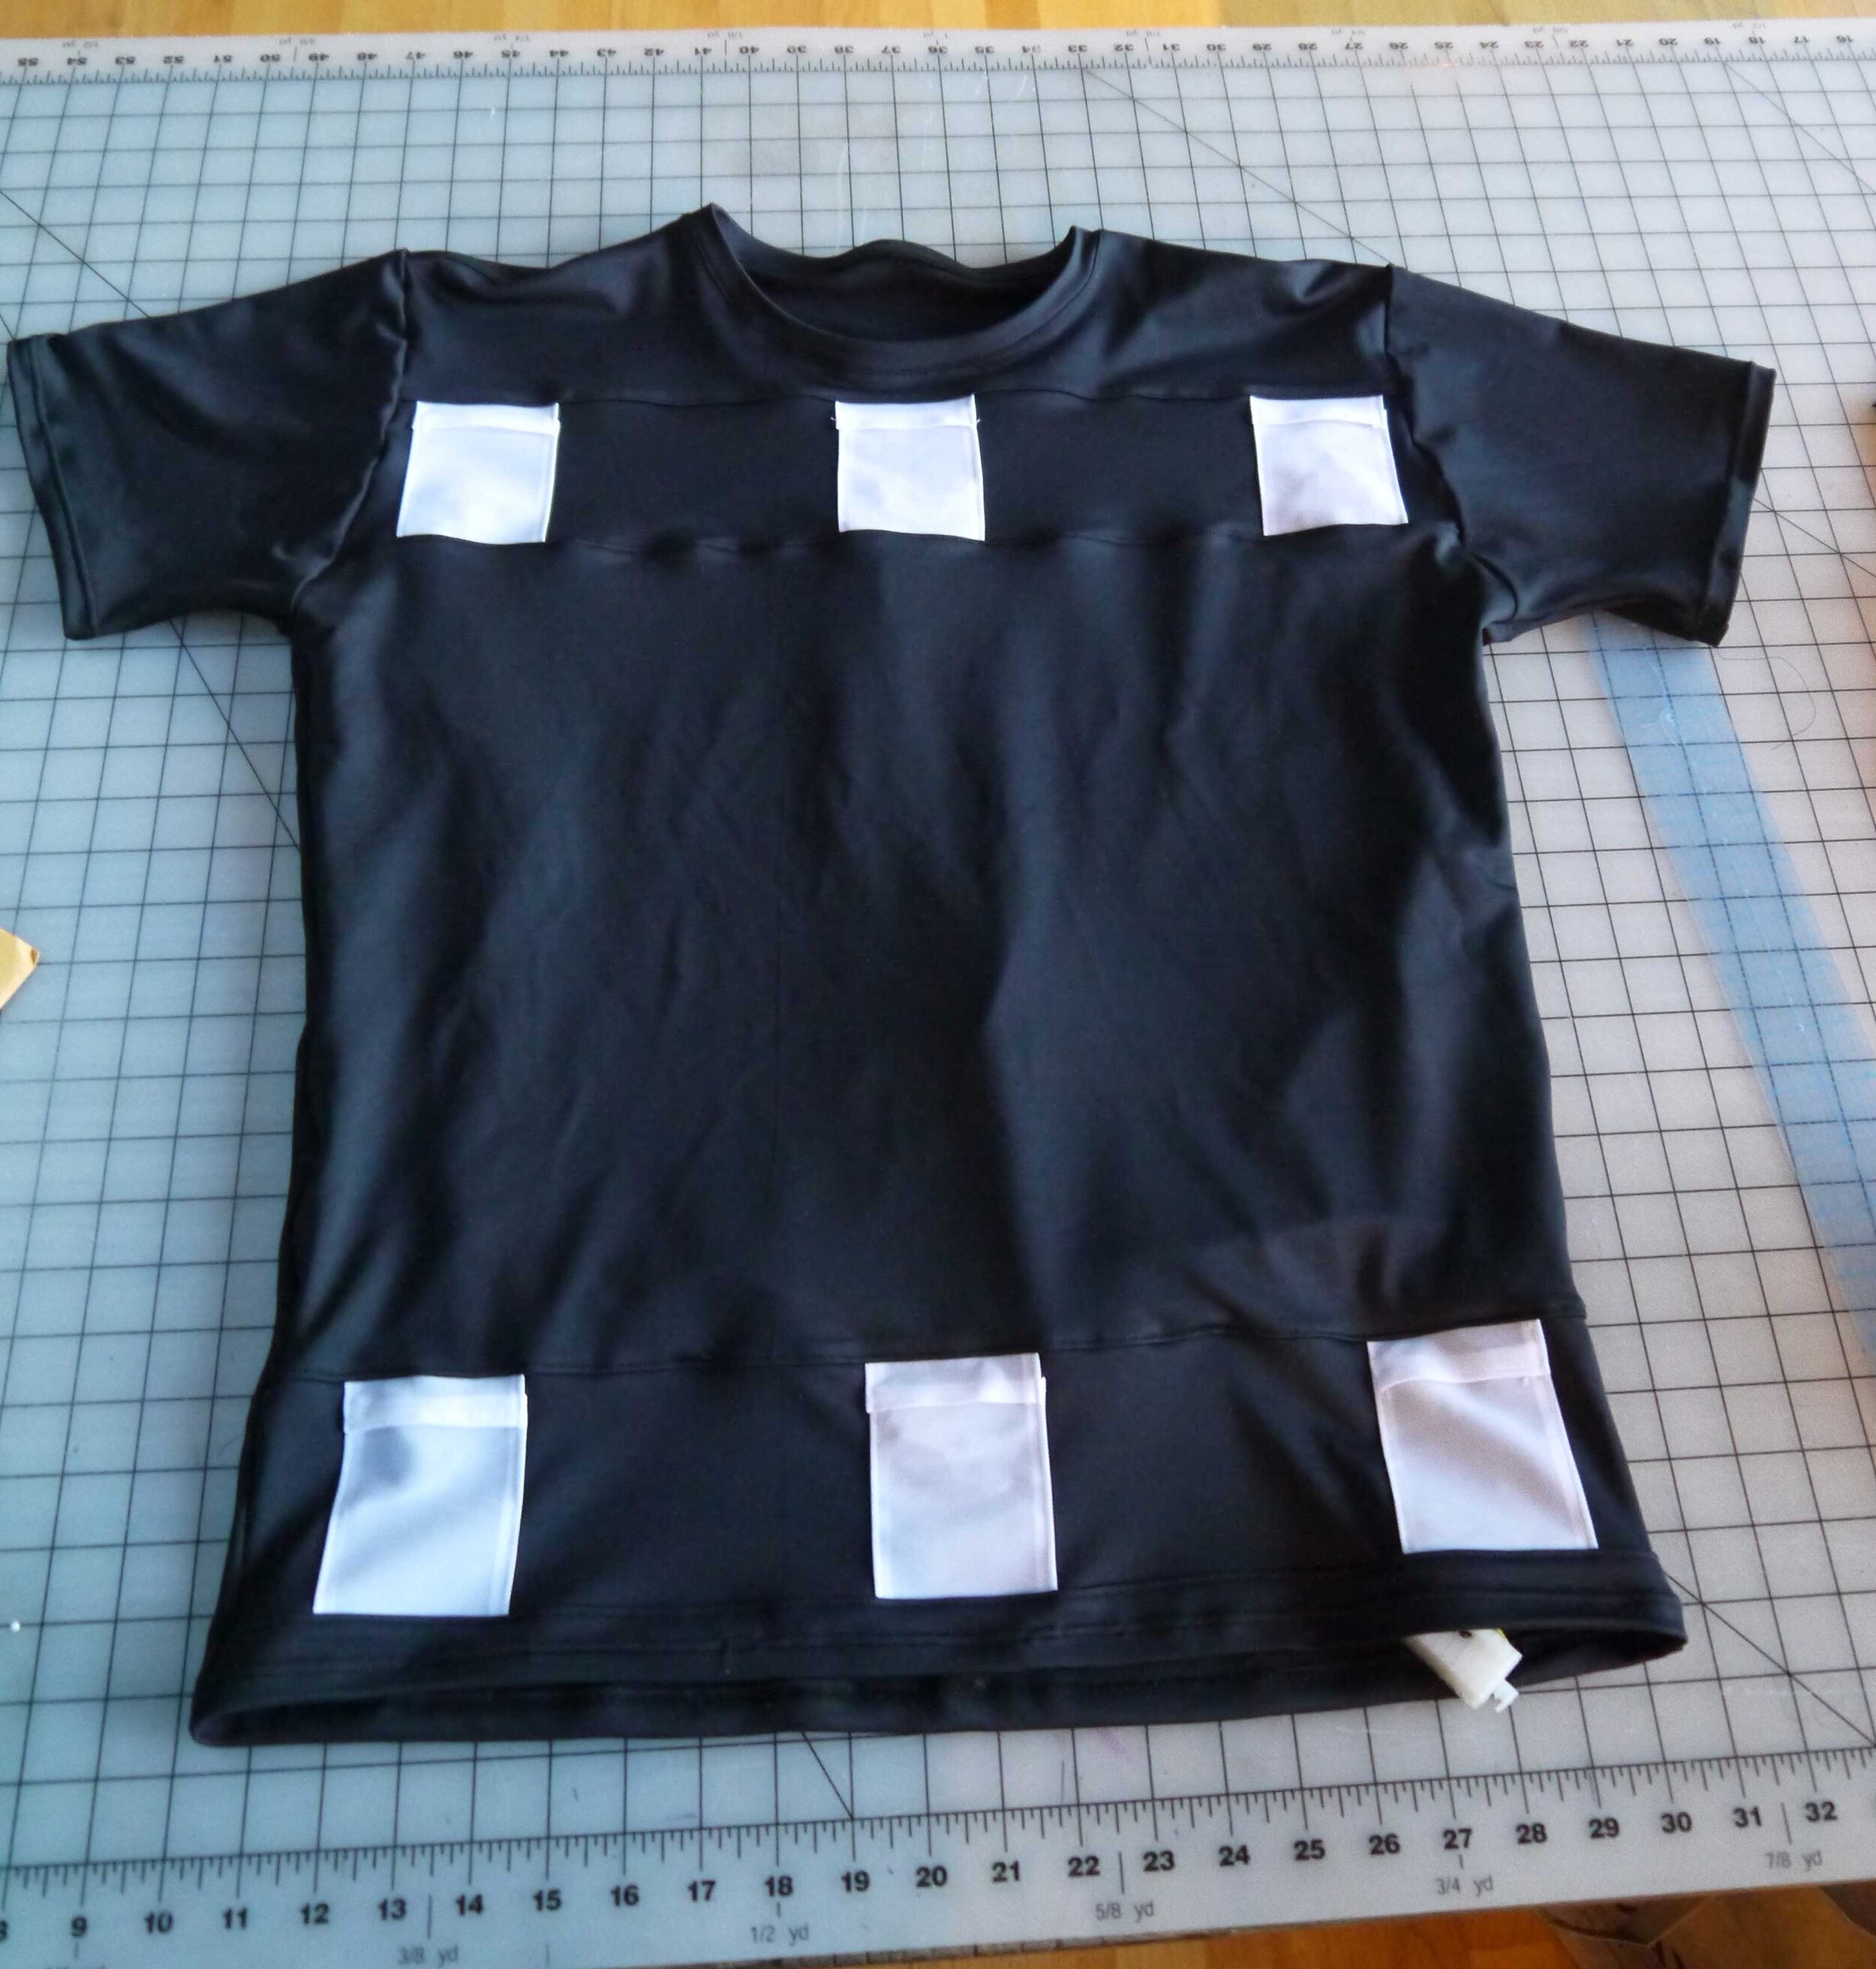
The completed shirt design.
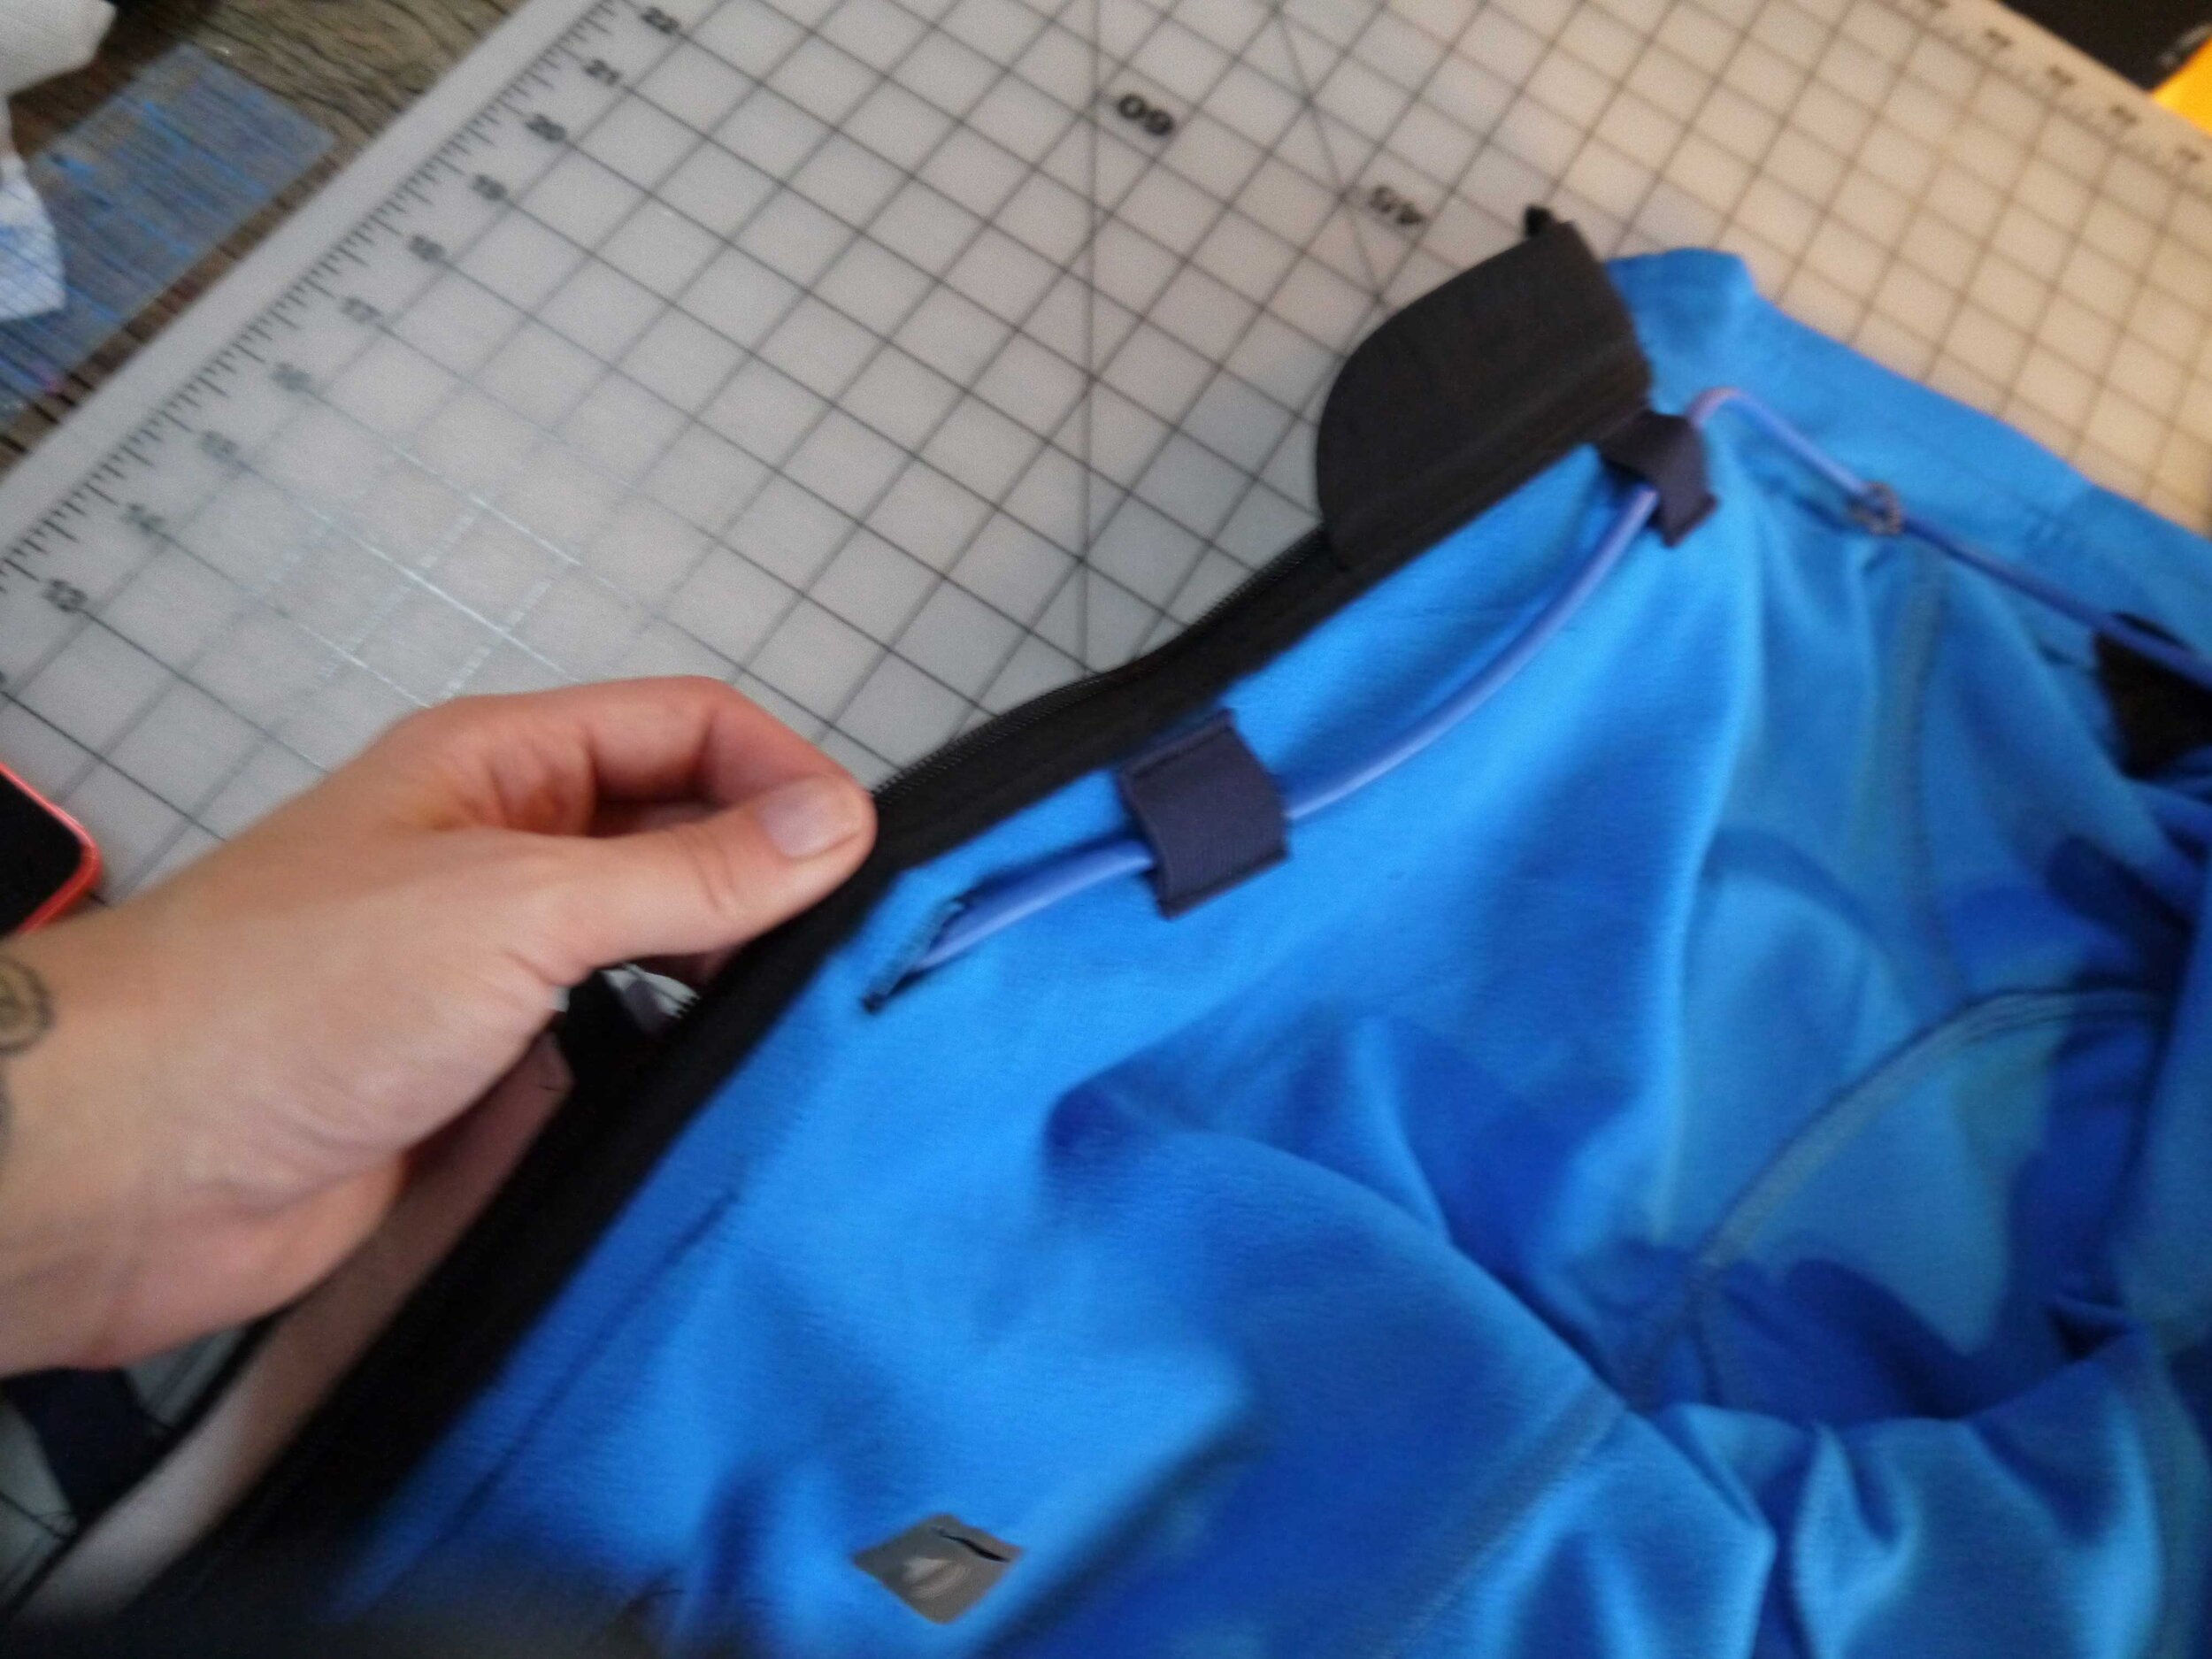
I also modified the jacket Darryl would wear. We wanted the RealSense camera to sit at the front of the jacket, but not move around too much.
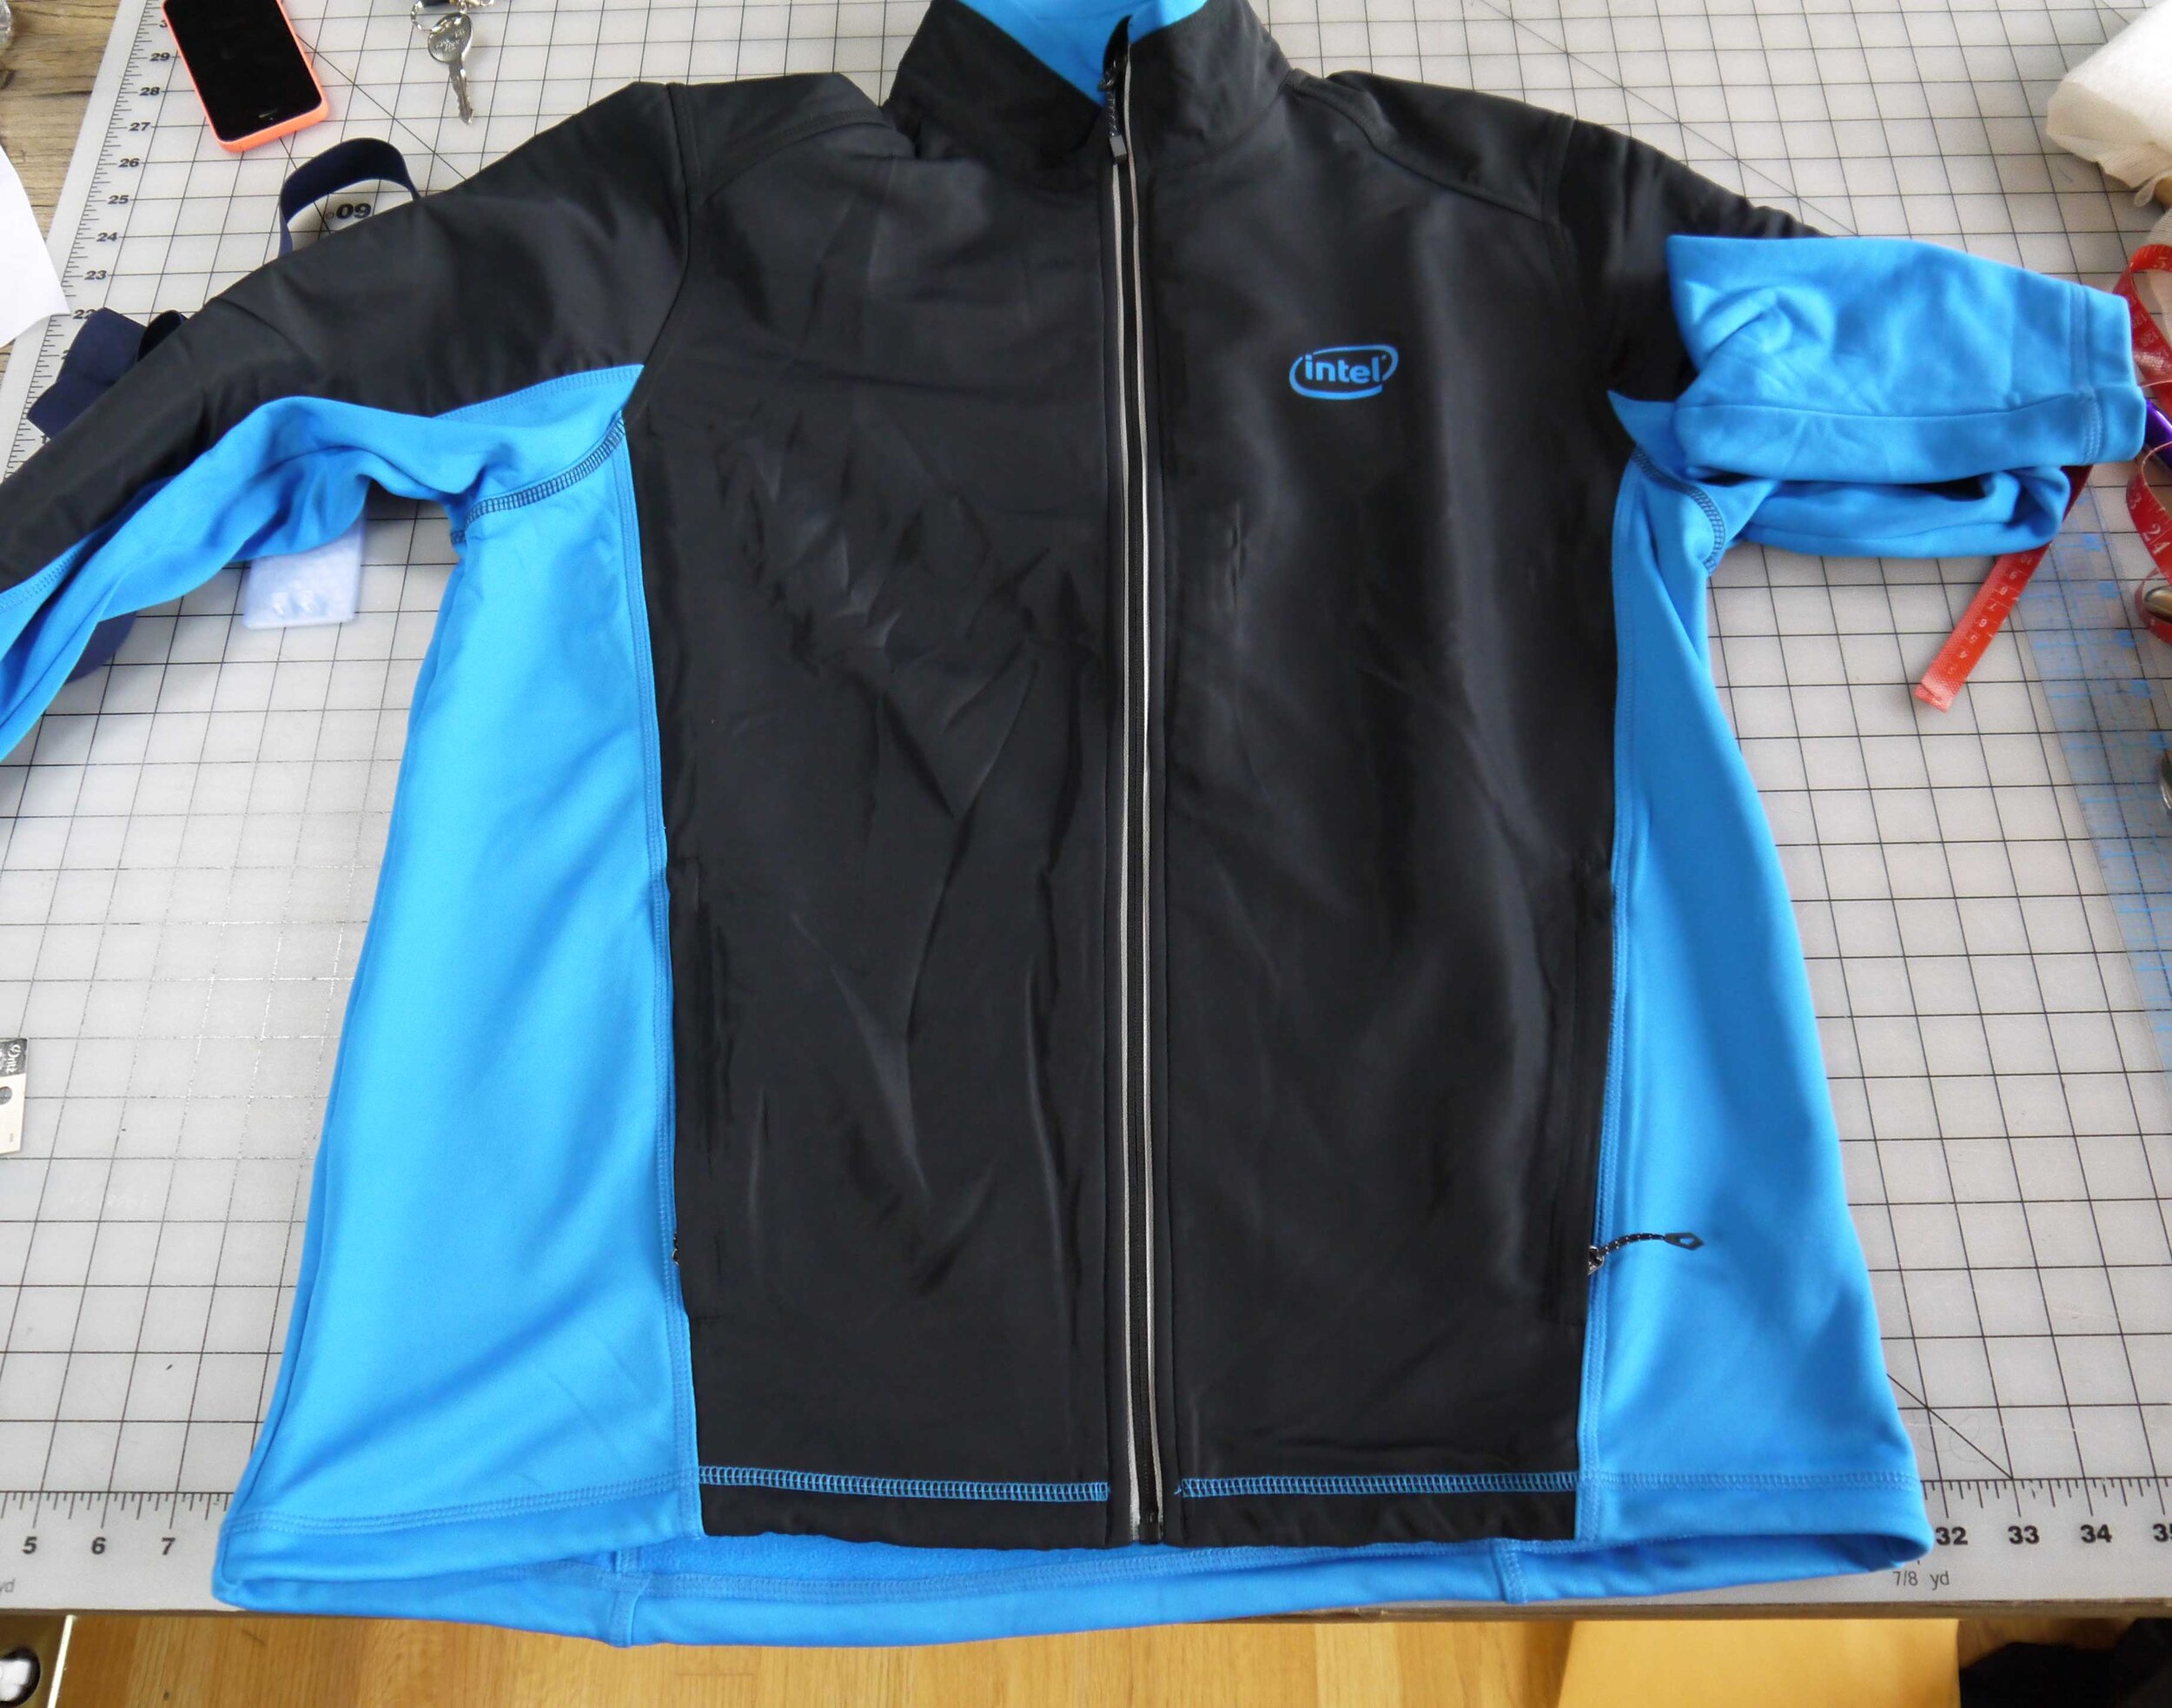

The team created a 3D printed housing for the camera, with attachments at the side. I created a fabric housing for this.
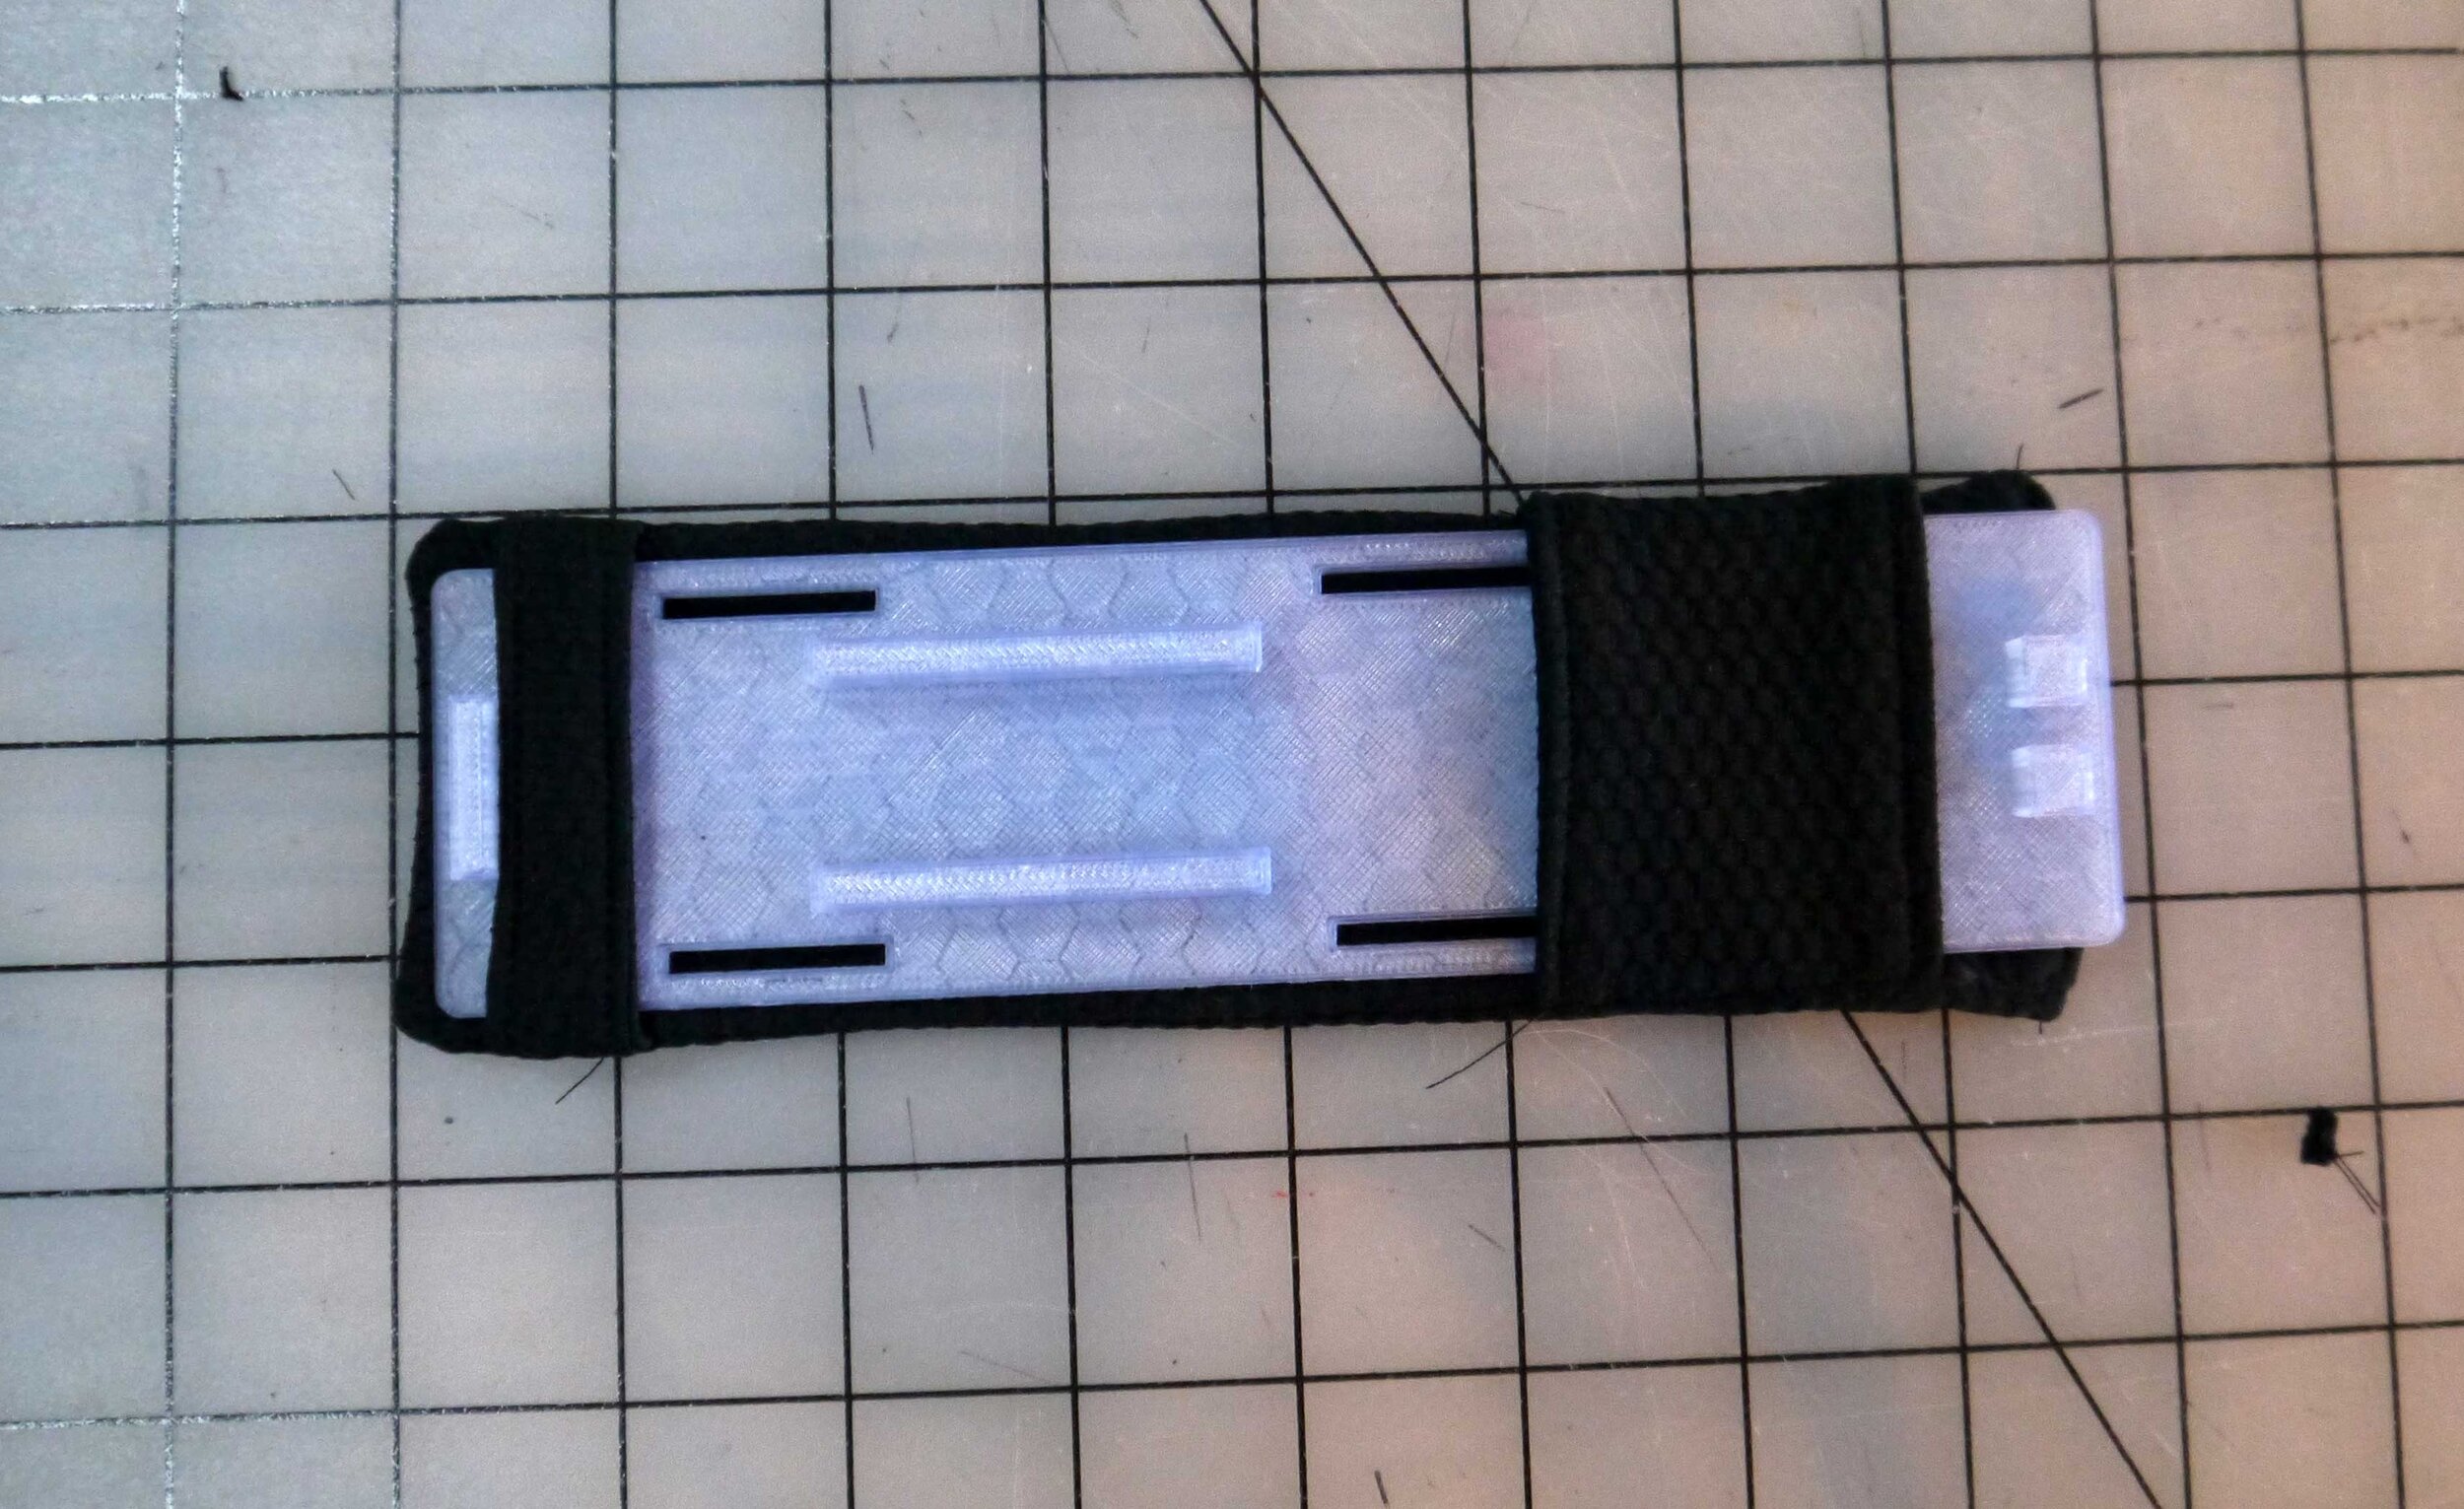
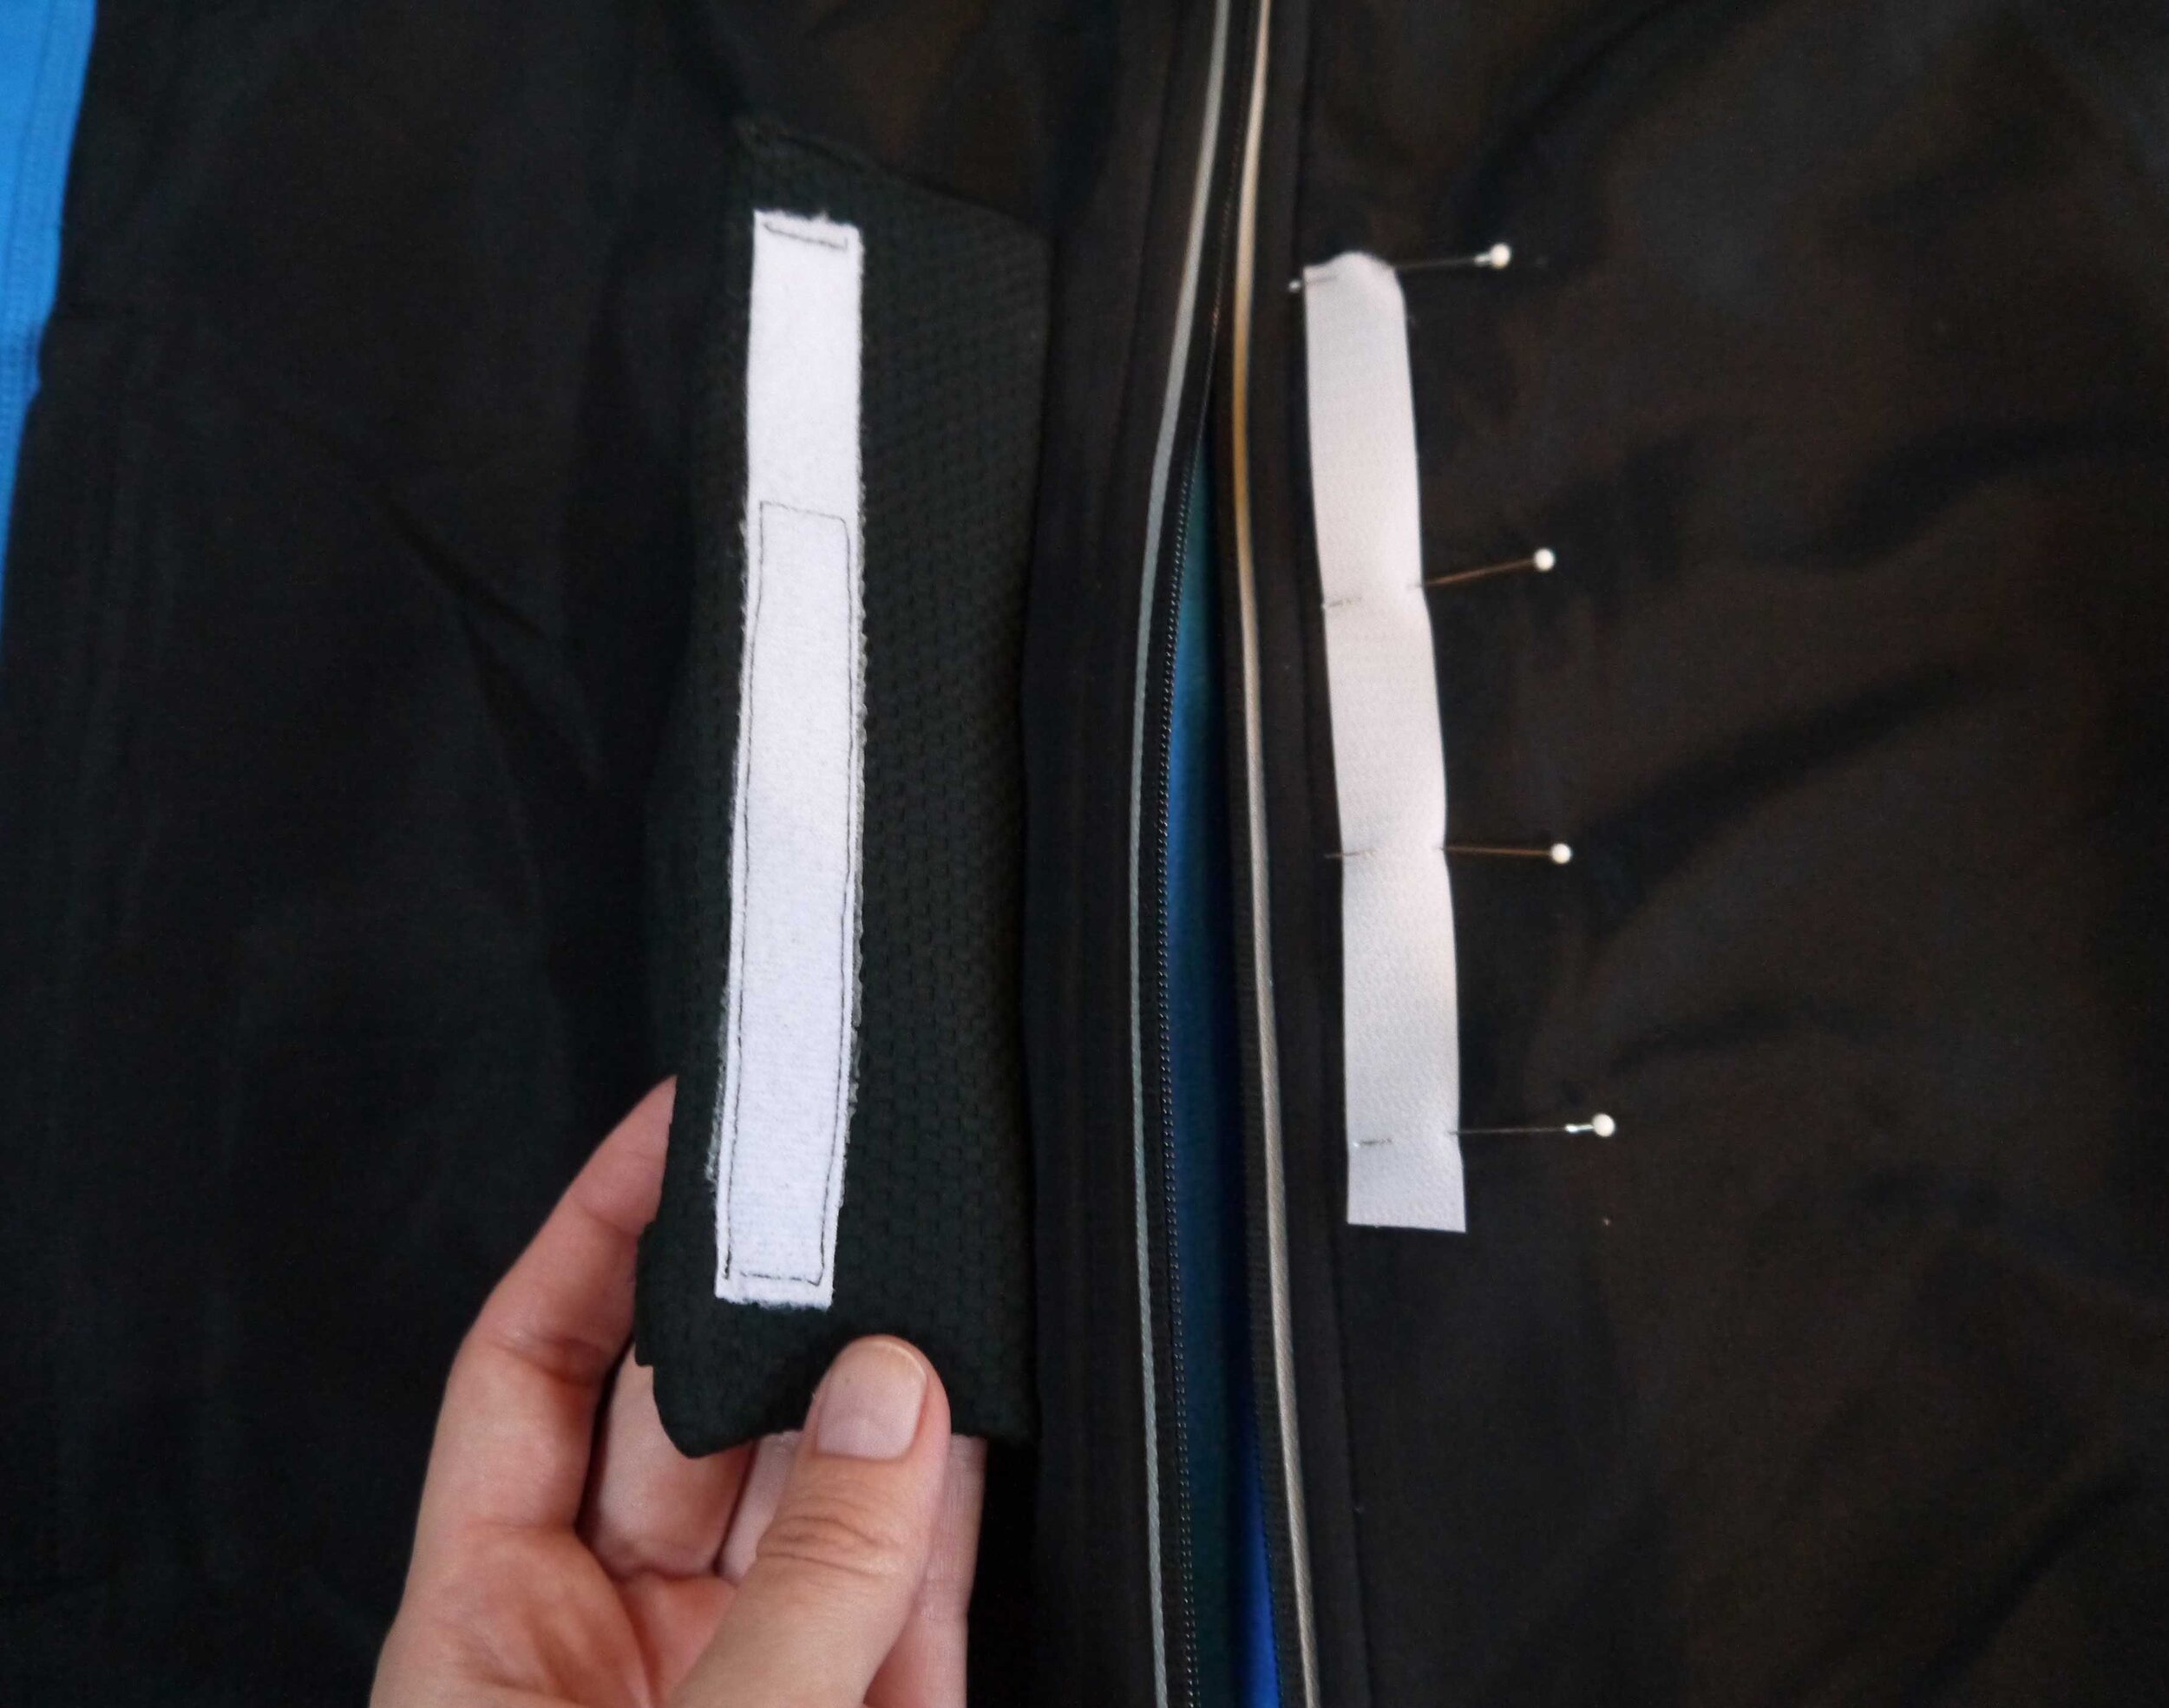
The fabric casing was sewn to one side of the zipper, and Velcro’d over it to fasten. The whole camera rig could be slipped in and out easily.
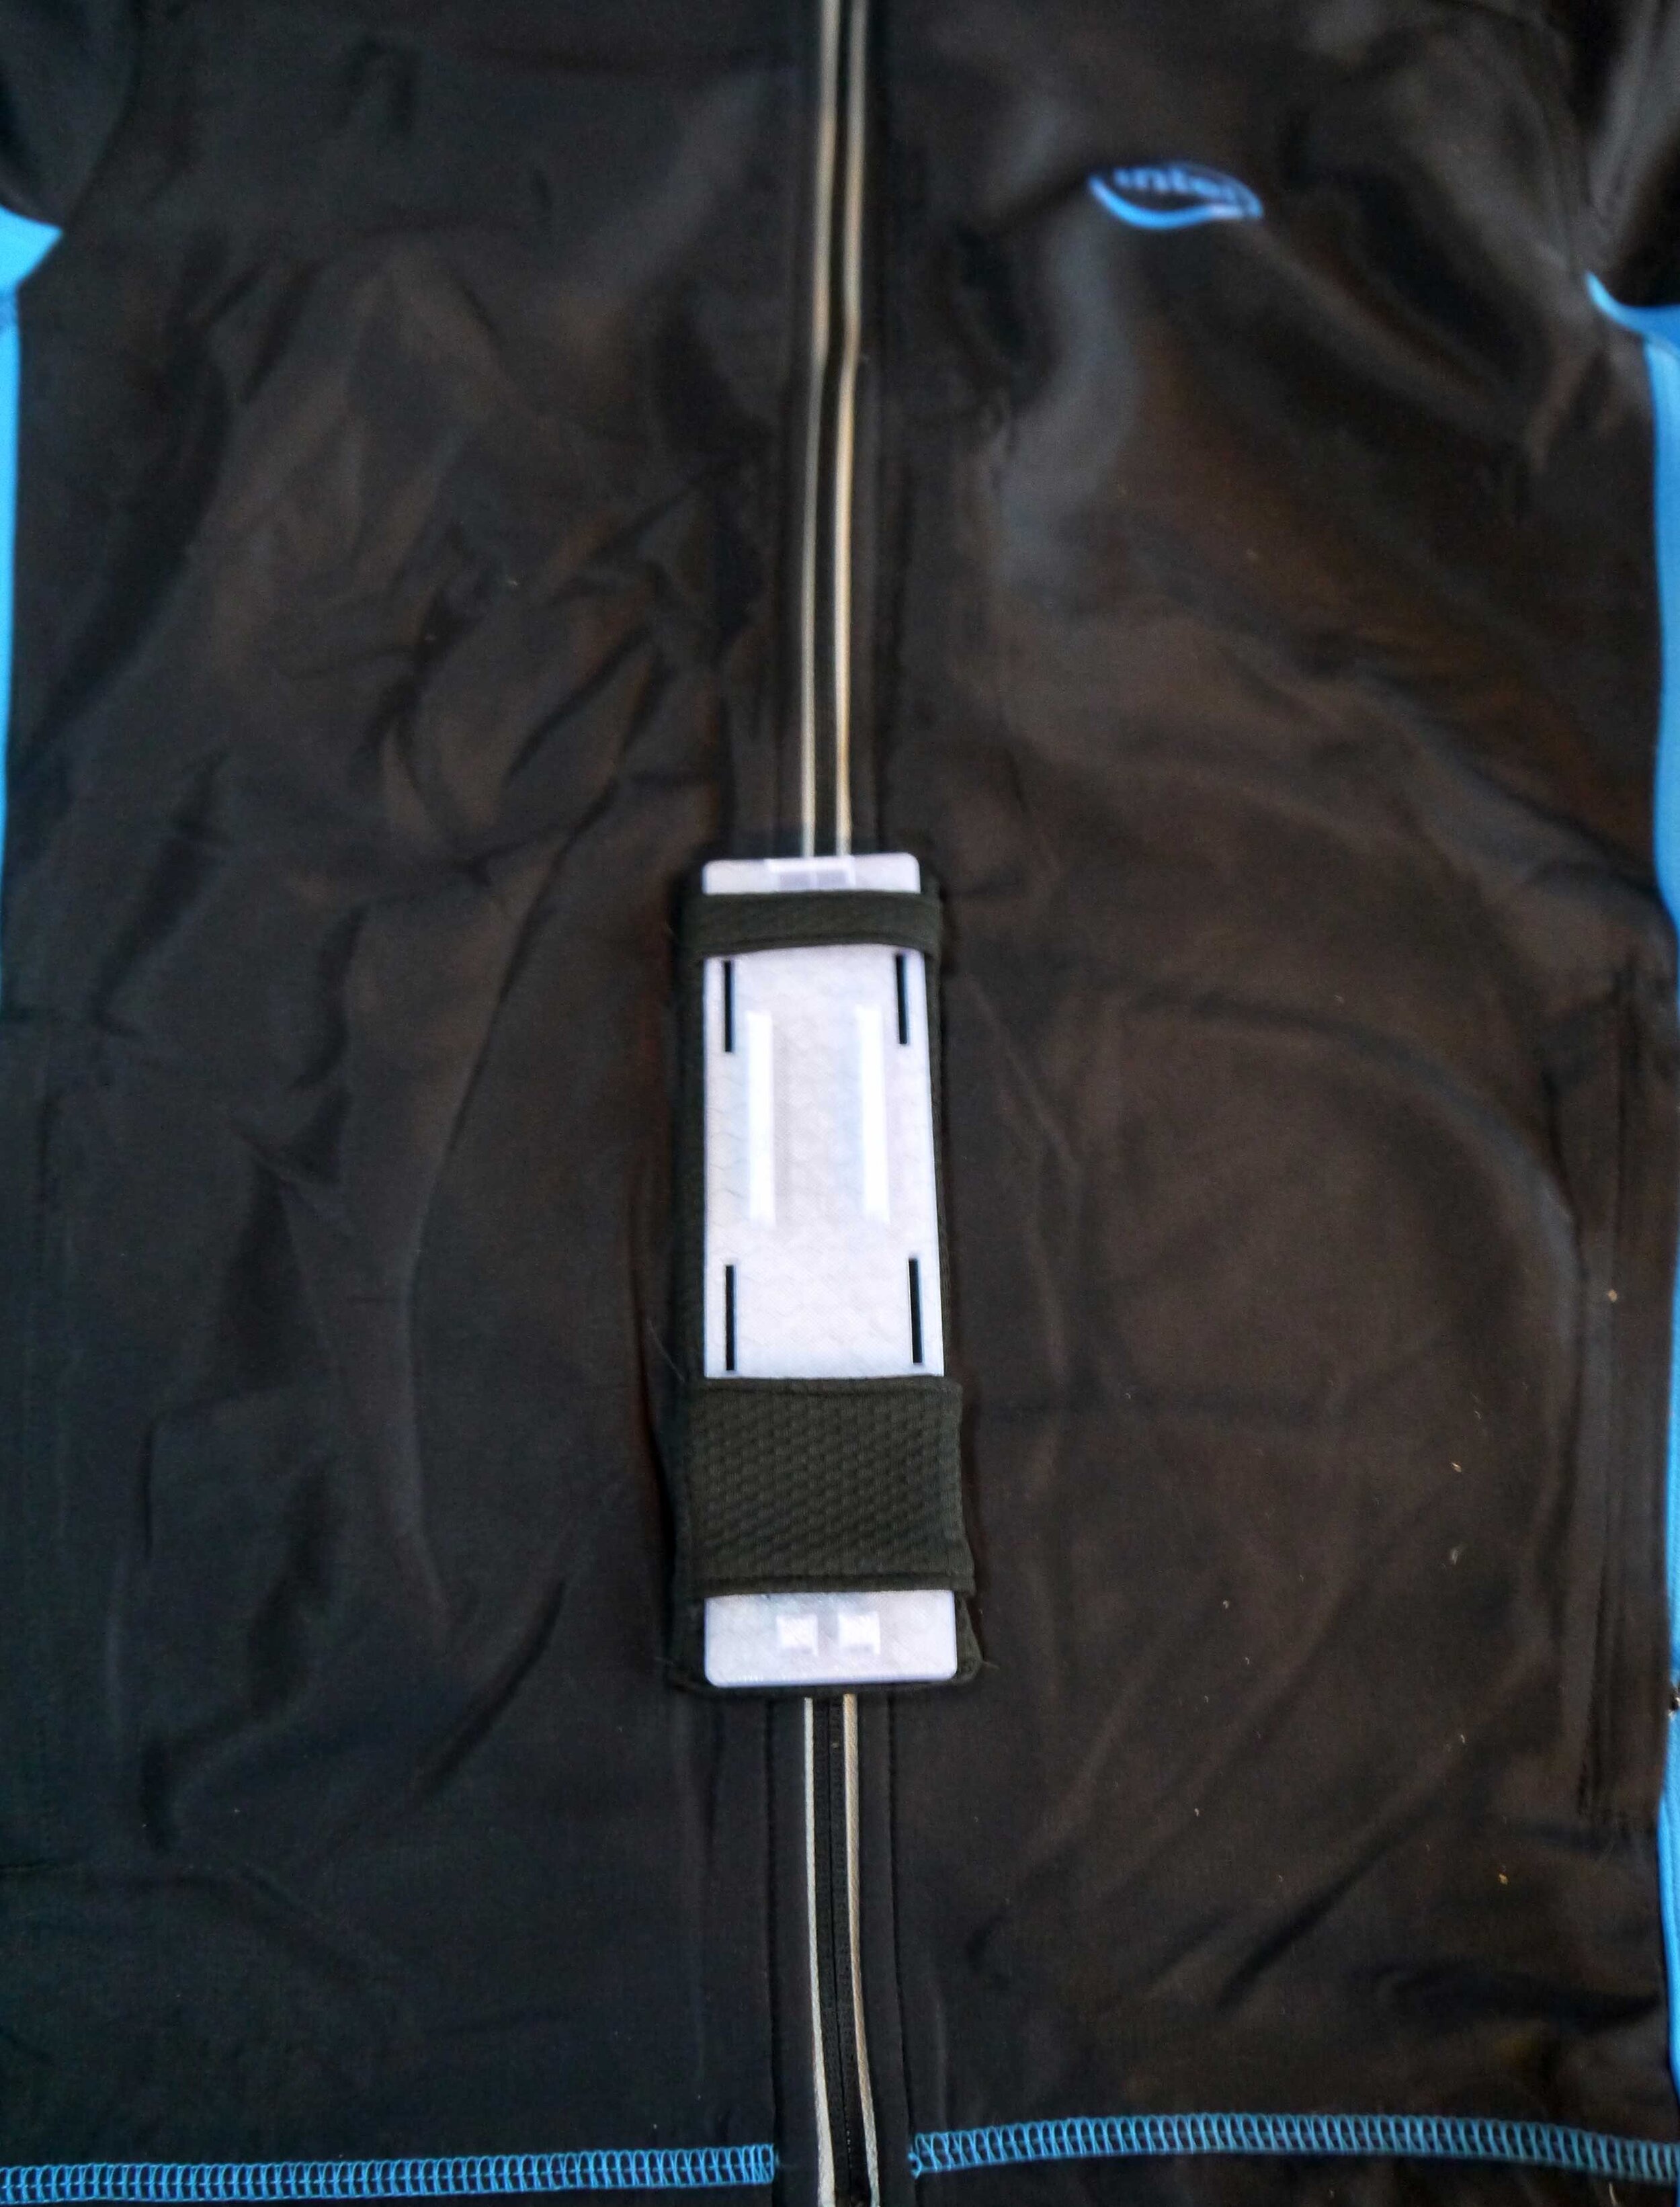
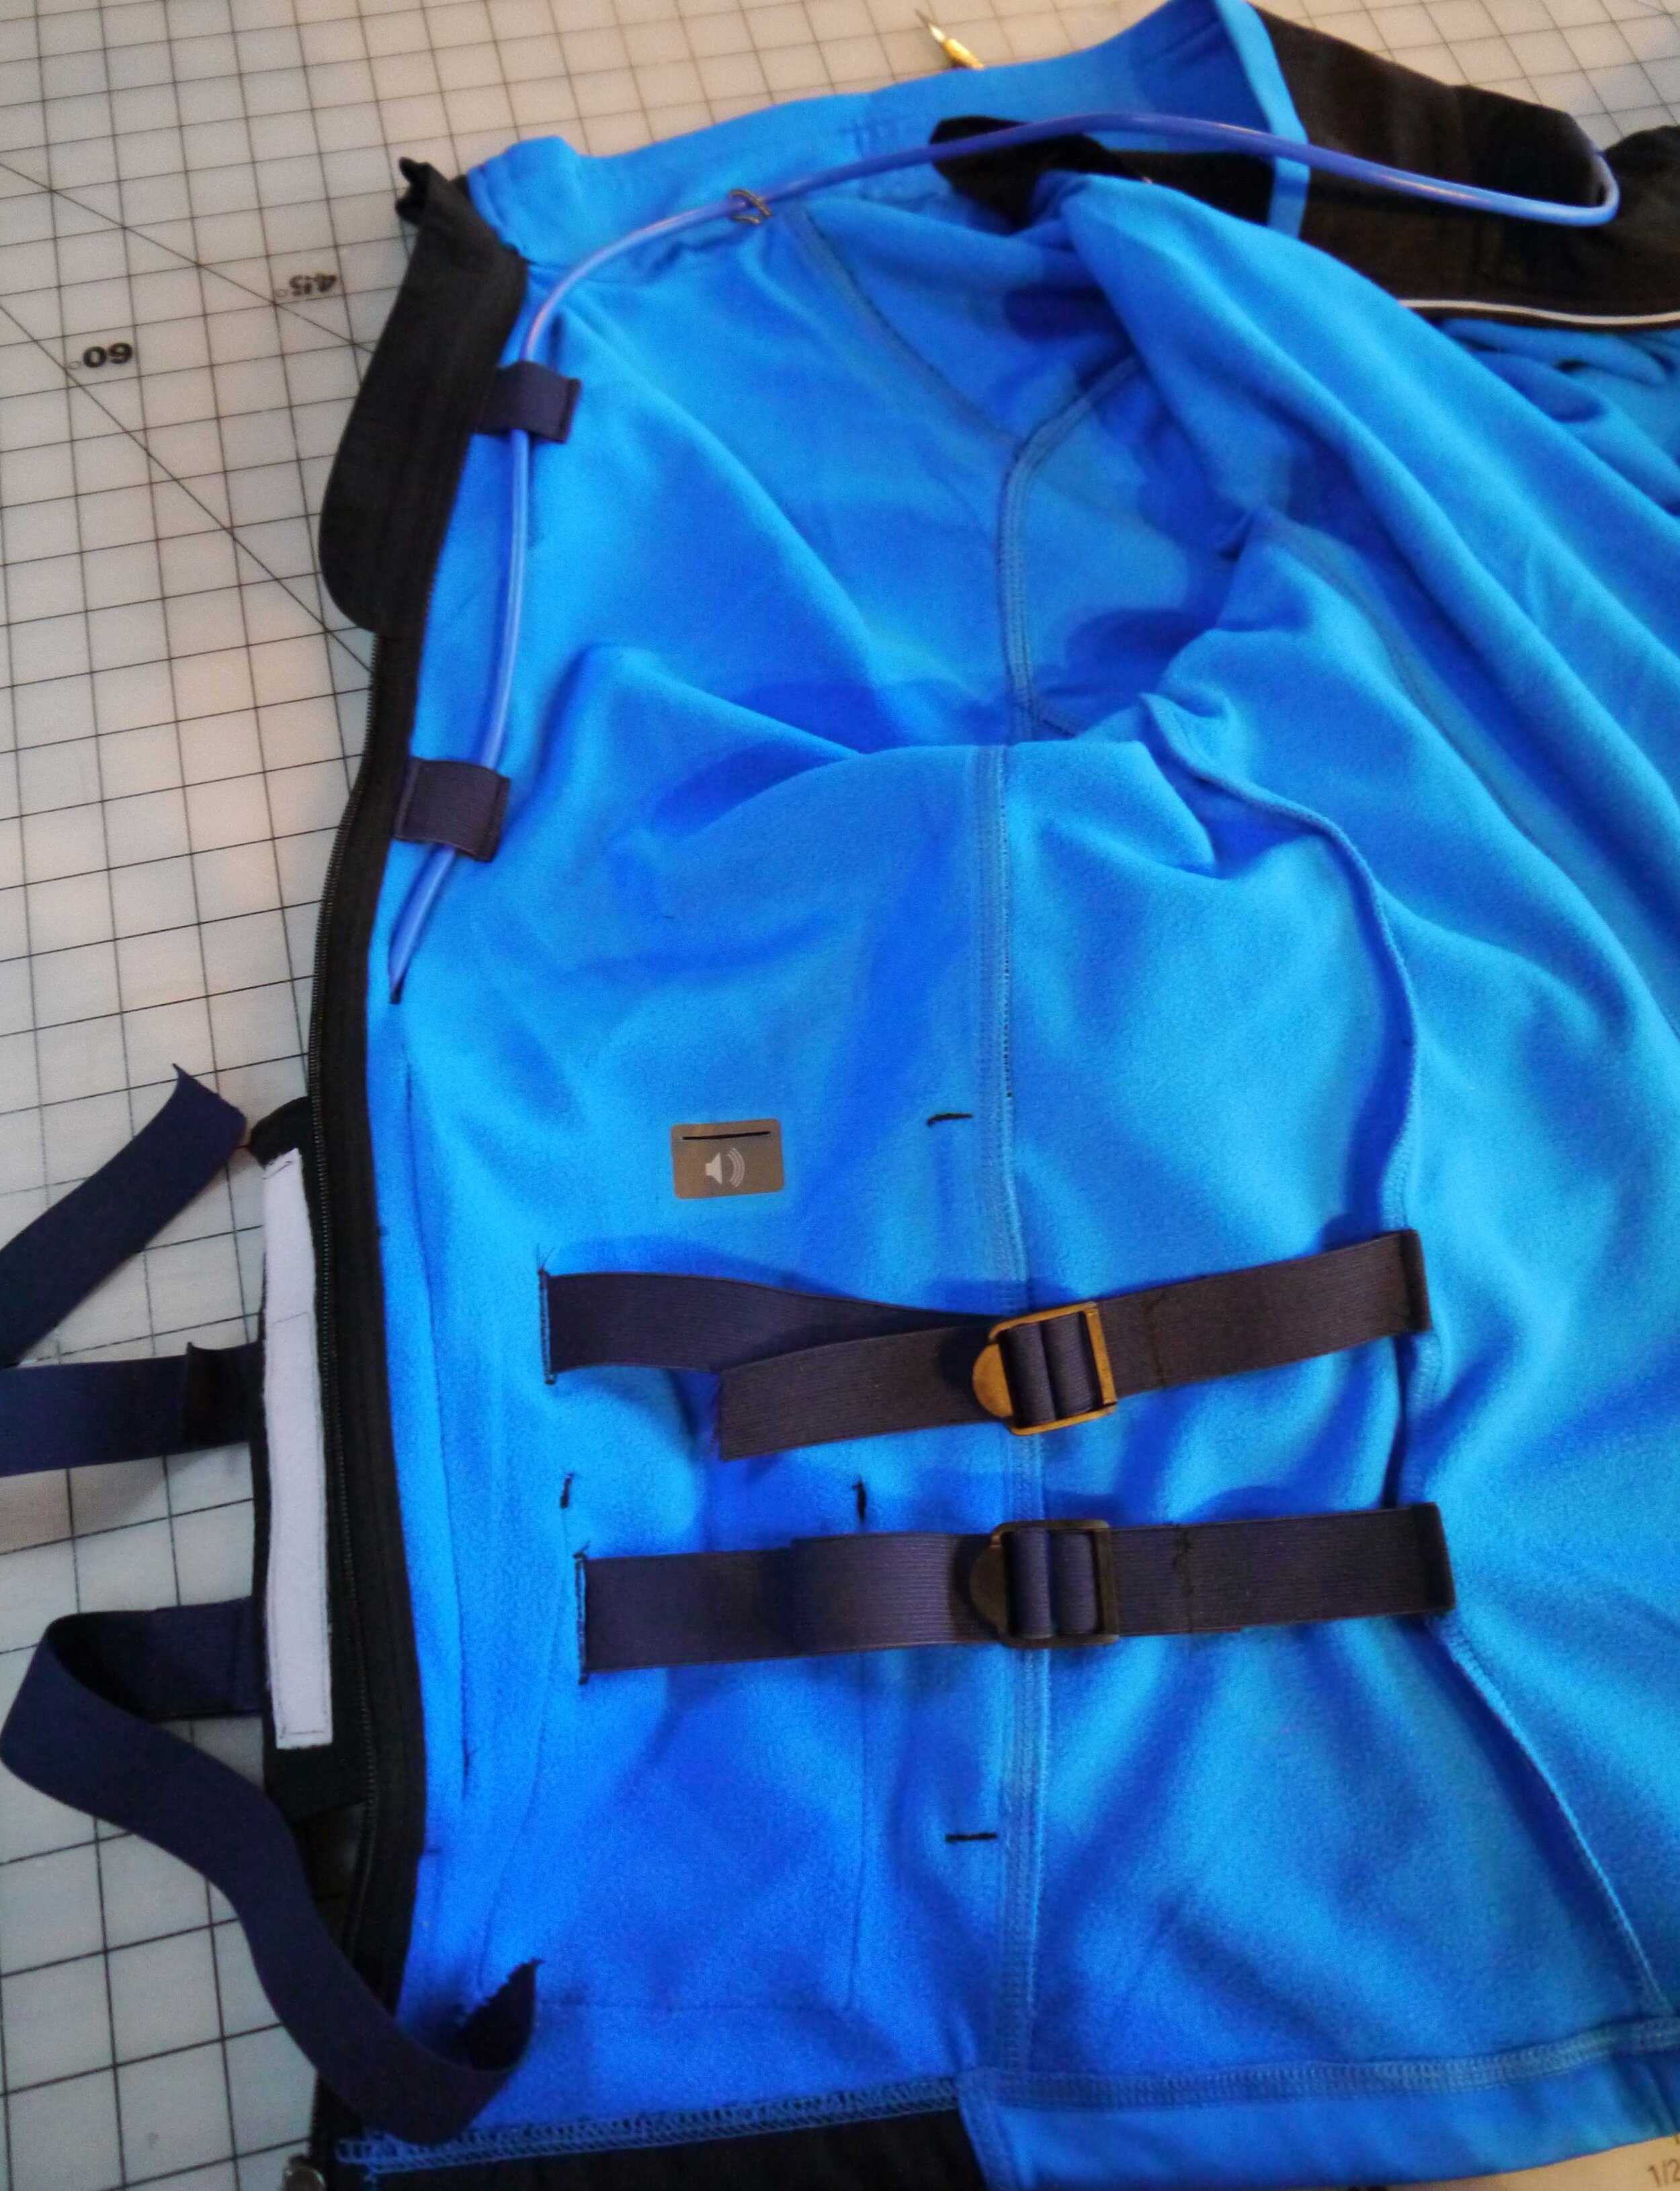
The camera mount attached to an elastic belt system inside the jacket. This allowed us to keep the camera stable and level.

And finally, the cord from the camera to the backpack was fastened along the front and neck with elastic holders to keep it in place. The leggings were much simpler - I simply added pockets to the outside at the ankles, and the wires could run up the sides.
Completed Prototype
You can watch Cooksey and Shani using the prototype here!
Skip ahead to 7:47 to watch the part with Darryl and the Spatial Awareness Wearable!